
[ Video Creator: Kirin Kinomoto ]Creative TECH #2 Master Glitch with Fully Automated Expressions!

Video Editor.
Graduated from Osaka Seikei University, Faculty of Arts, where he studied video production.
After working two years at a post-production company, he is now a house editor at a production company, working mainly on web commercials and video packages (VPs), using Adobe After Effects every day.
*VP: Short for video package. A format that includes video with additional information for more comprehensive communication.
While working across offline to online editing, I felt the limits of working alone. At the same time, my Tips shared on social media were receiving positive feedback, and I wanted to put more energy into various activities—so I decided to go freelance.
When I watch tutorials from overseas, I often think, “How did they just do that?” and by researching further I discover shortcut keys I didn’t know before. That’s how I find them.
This time, we asked Kirin Kinomoto—who always pursues workflow efficiency—about using Orbital2 and expressions to create glitch motion.
Before we dive in, let’s explain some terminology.
When creating animation, the basic process is to set keyframes. Expressions, however, allow you to describe animation through code. With this, you can adjust complex animations just by editing a single line of code.
In this article, I will introduce which expressions to use and how, and also provide an Orbital2 profile for download. By importing this profile, Orbital2 users can execute expressions with a single push.
Glitch originally refers to digital noise, but recently it’s often seen on social media: an effect where the screen distorts briefly with a “buzz.” Using this deliberately in creative work is called glitch motion.
Now, let’s look at the effects. This time, I created four main glitch effects.
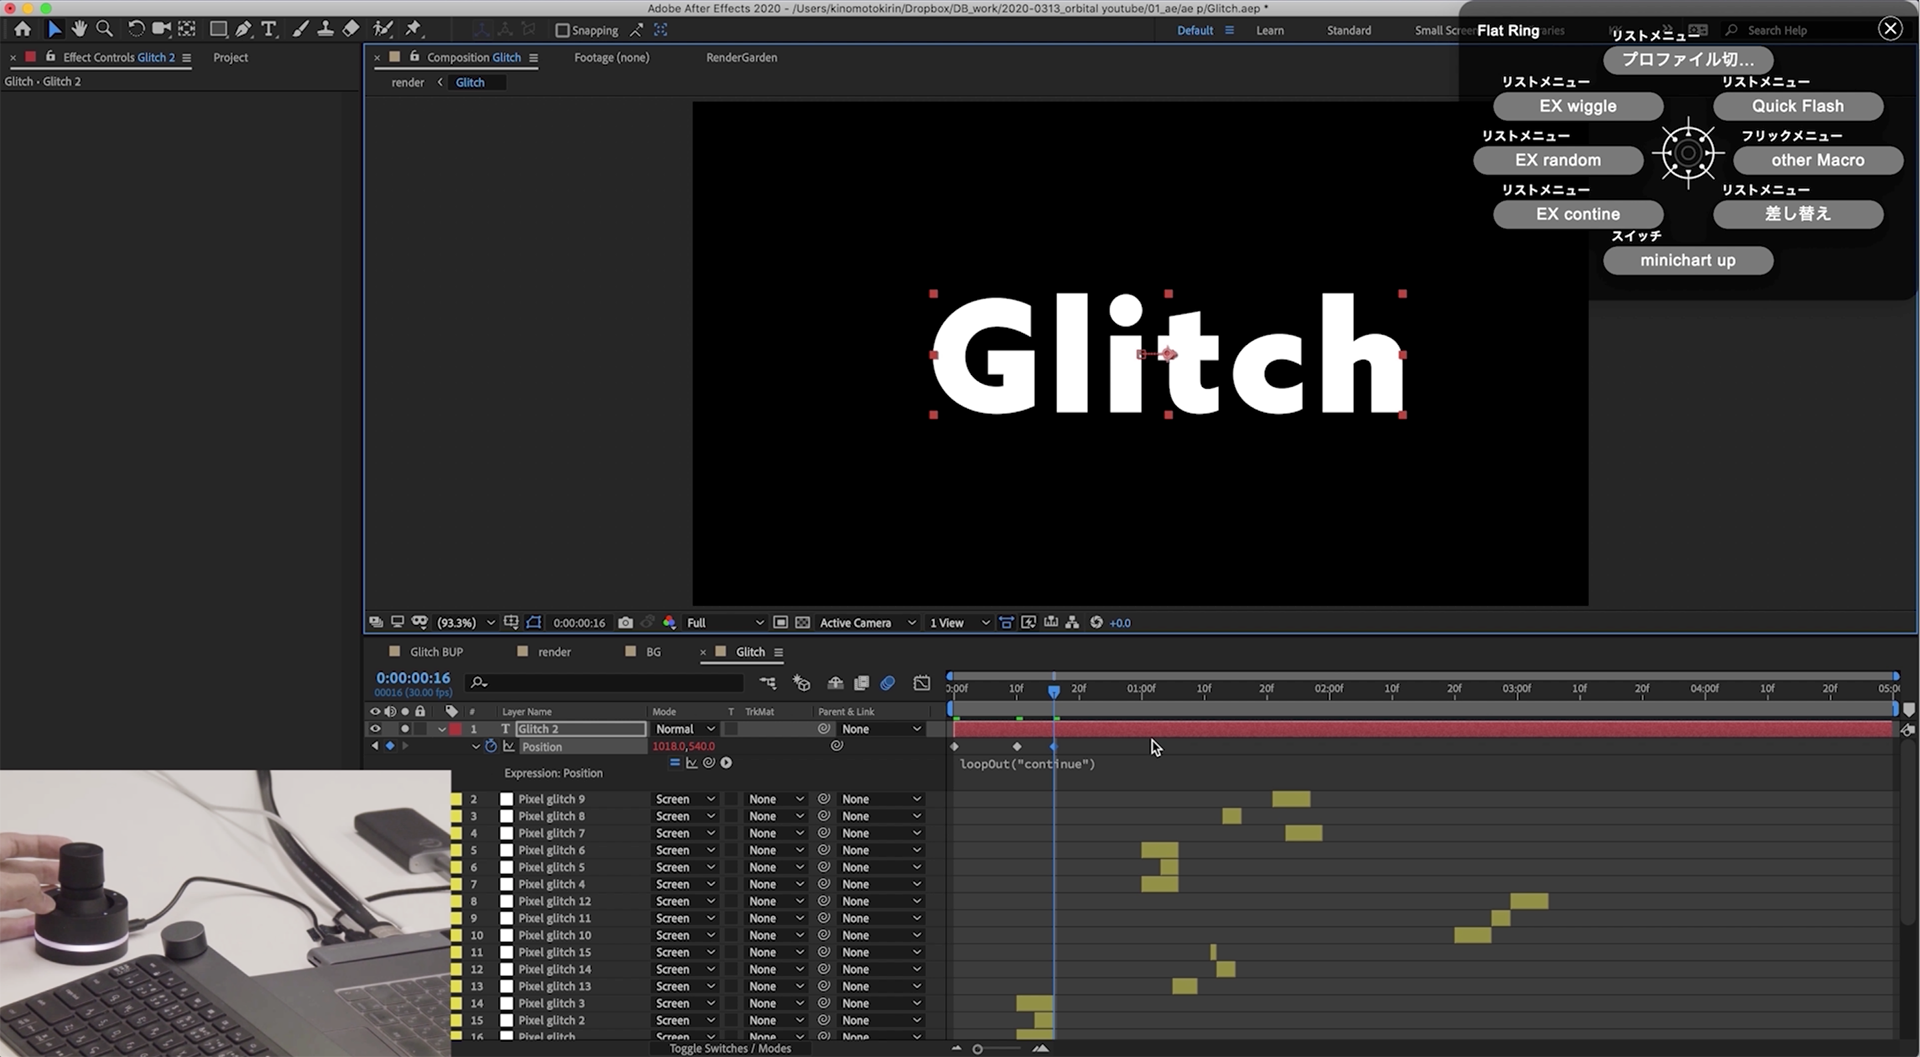
First, I created a “Find Edge Glitch” effect that emphasizes edges. By applying the Invert effect, only the edges are highlighted, then applying the Transform effect. I added a wiggle expression to Transform’s Position.
On Orbital2, I registered the wiggle expression into the Flat Ring list menu so it can be applied with one push.
It’s hard to memorize, and you can preset your favorite values, so assigning it to Orbital2 is convenient.
After some adjustments, it creates a jittery movement.
That’s “FX Console,” a plugin that instantly calls up effects. I assigned Ctrl+Space as the shortcut key to launch it.
*FX Console’s shortcut can be changed in its settings.
FX console:here
Next is “Scroll Glitch.” Add the Motion Tile effect and insert an expression.
I use the expression random(0,100), registered in the Flat Ring menu. To fix the X-axis, I place “960” before it.
This keeps X fixed at 960 while adding random Y-axis movement. Adjusting it to random(0,1000), for example, makes the vertical movement stronger.
For Scale Glitch, I applied random(0,100) to the Transform’s Scale property.
This creates a quick scaling motion for accent.

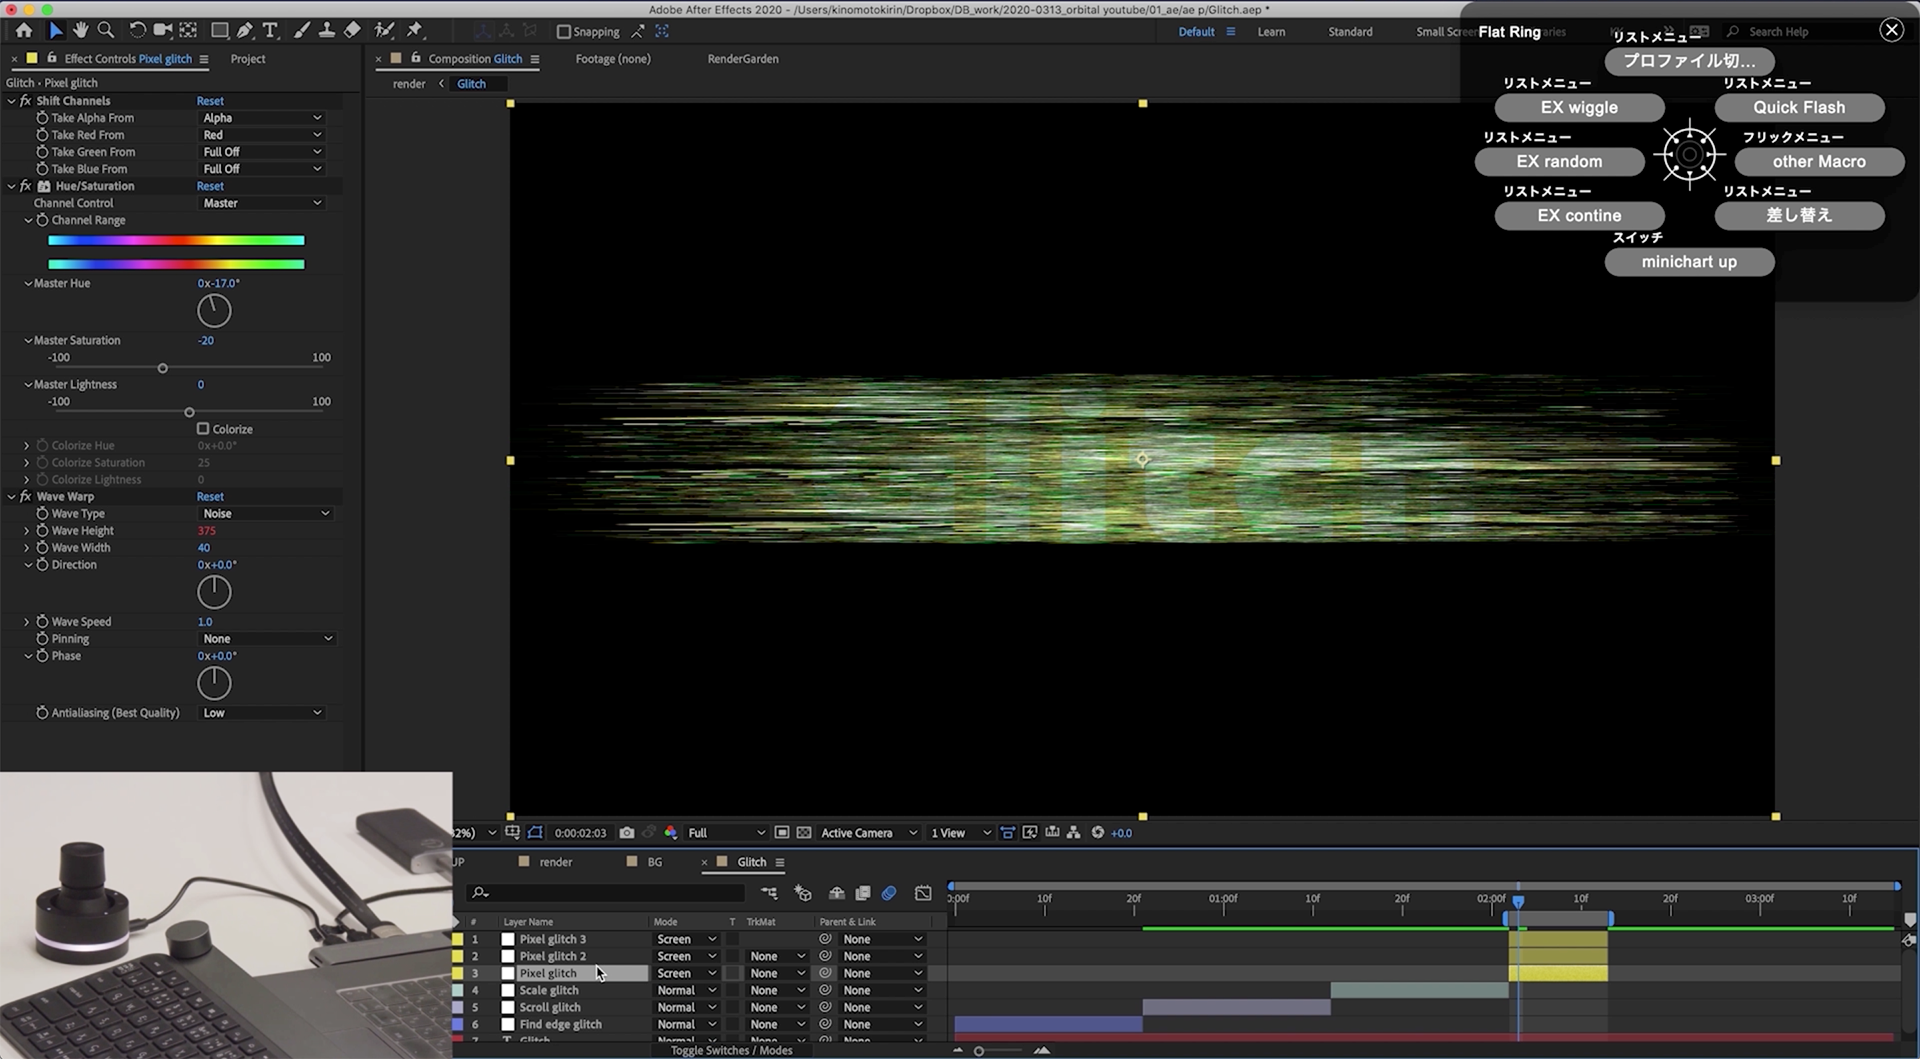
Start with Shift Channels to isolate the red channel.
Since pure red is dull, adjust with Hue/Saturation.
Then add Wave Warp with a wiggle(10,1000) on Wave Height.
This produces the characteristic glitchy distortion.

I usually start with high values (like 1000) and halve them if they feel too strong. Gradually, you get a feel for it.
For Pixel Glitch, I duplicate the layer, set its Mode to Screen, and recolor it with Hue/Saturation for variety.
These four effects are the basics. You can duplicate and offset their timing for richer results.
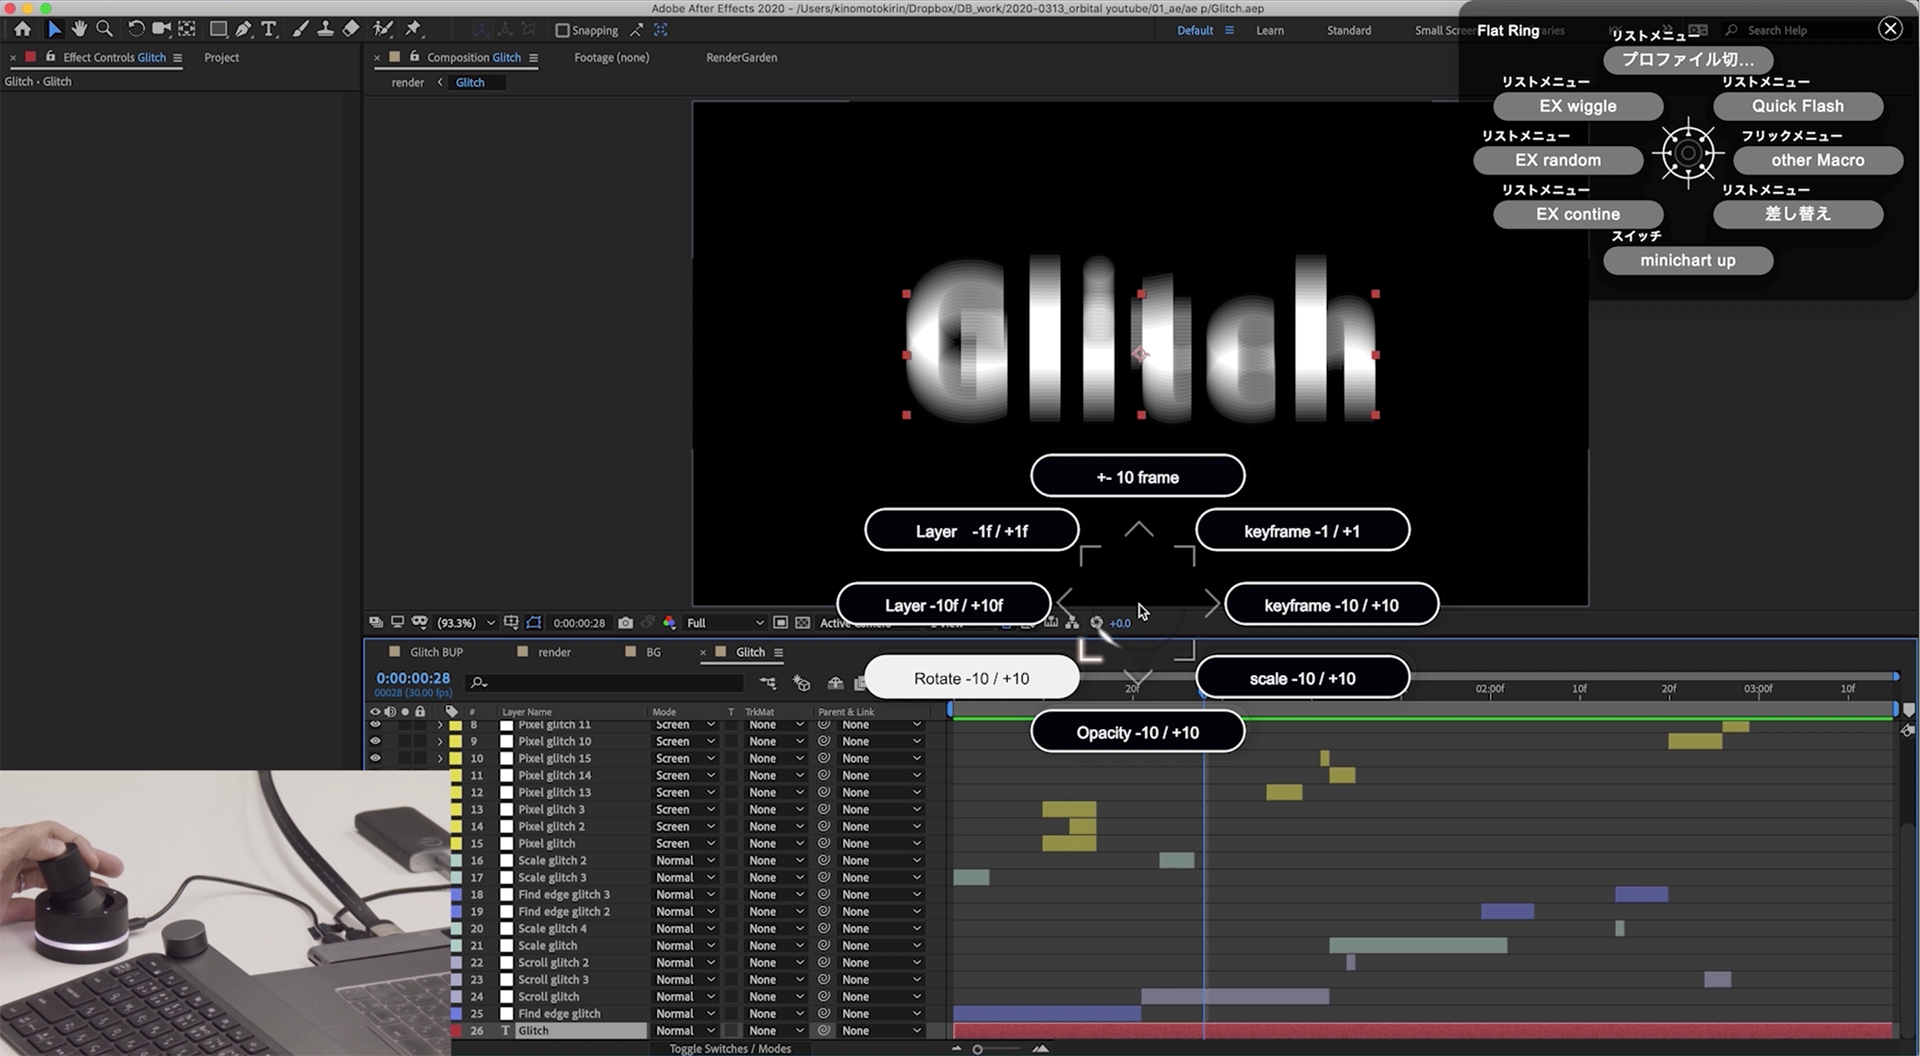
For frame-by-frame adjustments, I assign Orbital Engine mode to move layers 1 frame forward/back. Tilting left and turning decreases 1 frame, tilting right and turning increases by 1 frame—very handy for fine-tuning.
■ Orbital Engine settings
Besides moving layers, I assign Rotate to the joystick for intuitive control, and Opacity for quick adjustments.
I also mapped shortcuts for moving keyframes. For example, shifting by just 3 frames can be cumbersome with a mouse, but spinning the joystick makes it smooth.
■ Flat Ring settings
On the Flat Ring, I assign wiggle and random expressions.
There’s also “EX Contine,” an expression that keeps continuous movement beyond keyframes.
I also assigned “Minichart Up,” a shortcut to return to higher-level compositions. Since After Effects work often dives deep into nested comps, returning upward frequently is important.
For slideshow-type projects with many photos, I automated the “Replace” process. Normally, replacing each photo manually is tedious, but automation here saves significant time.
Lastly, I use Orbital2 macros to call up extensions, without moving the mouse to the menu bar.
▼ Kirin Kinomoto’s Original Profile
「Adobe After A profile usable with Adobe After Effects has been provided!
Mac:
here
*Only profiles provided by the creator are distributed, so some OS or keyboard layouts may not be available. Thank you for your understanding.
This translation has been performed using ChatGPT.