
【Video Creator: Masahiro Sagawa】 How to Use Orbital2 with Premiere Pro

Editor / Colorist
Sagawa began his career in 2006 at a major post-production company. He has worked extensively on music live productions, as well as variety shows, dramas, documentaries, music videos, corporate videos, and films. In 2018, he went independent, running a small-scale post-production studio in Akasaka, Tokyo, while producing event videos and speaking at numerous video-related events.
We collaborated with Sagawa, who fully utilizes Orbital2 in Adobe Premiere Pro!
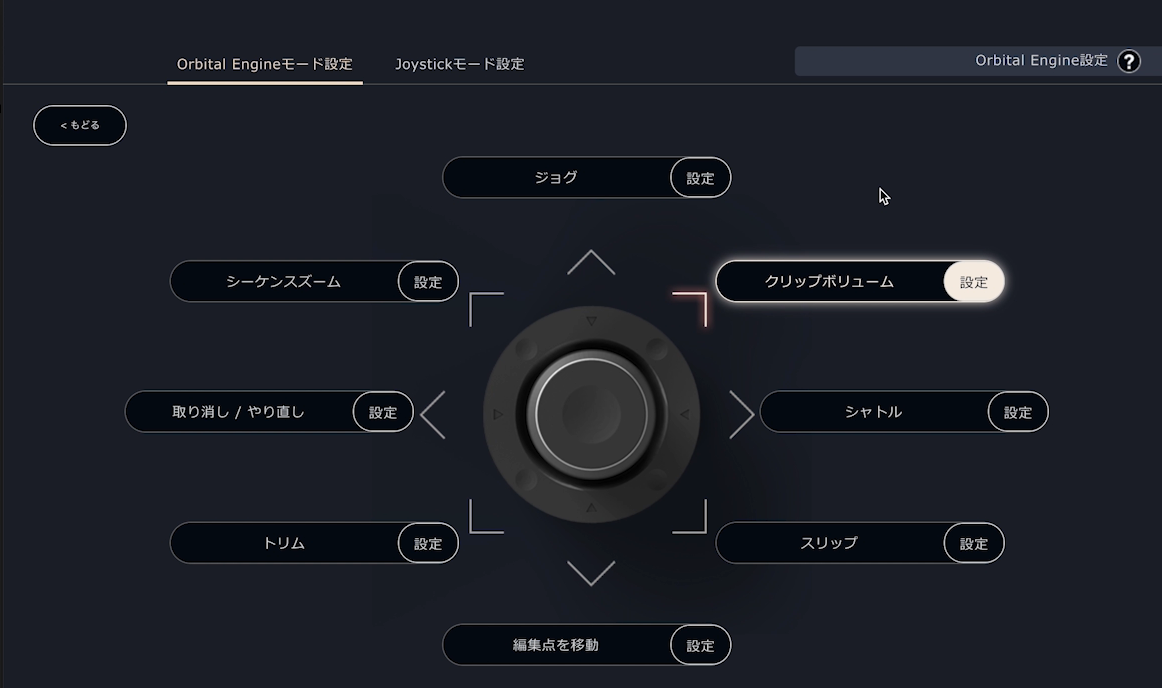
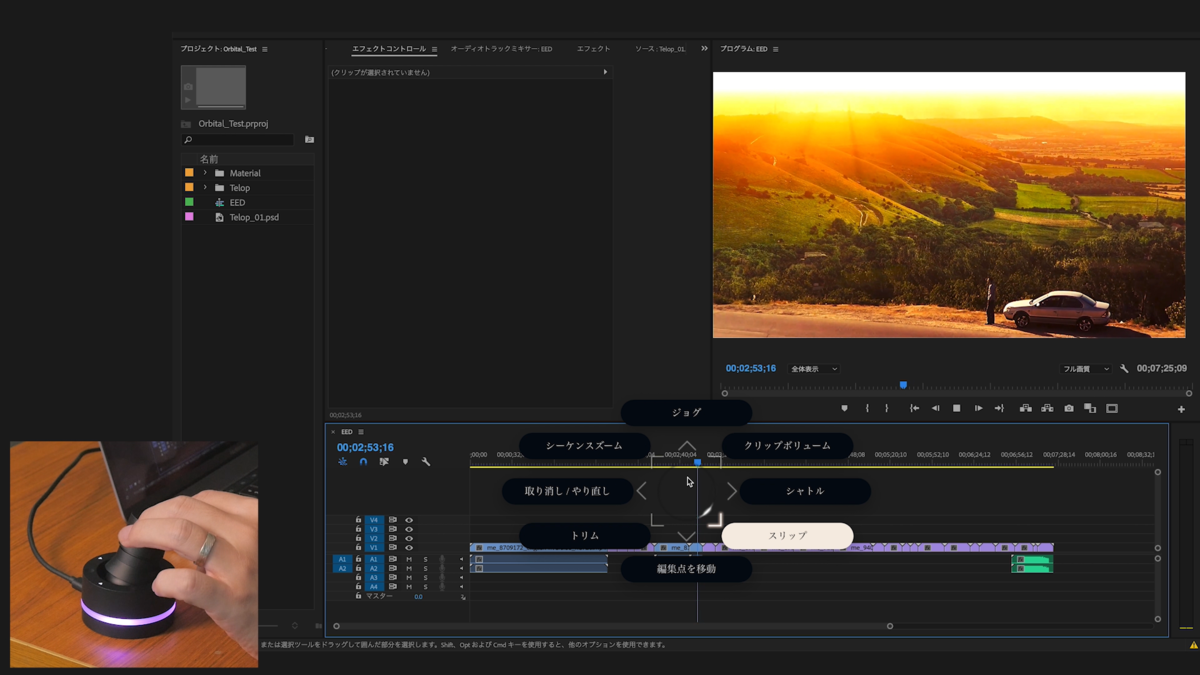
Directional Assignments
- Jog: Move 1 frame forward/backward
- Clip Volume: Adjust audio volume
- Shuttle: JKL operations for playback speed control
- Slip: Shift the in/out points of a clip without changing its length
- Move Edit Point: Shift cut points
- Trim: Move trim points during editing
- Undo/Redo: As is
- Sequence Zoom: Zoom in/out on the timeline
Sequence Zoom
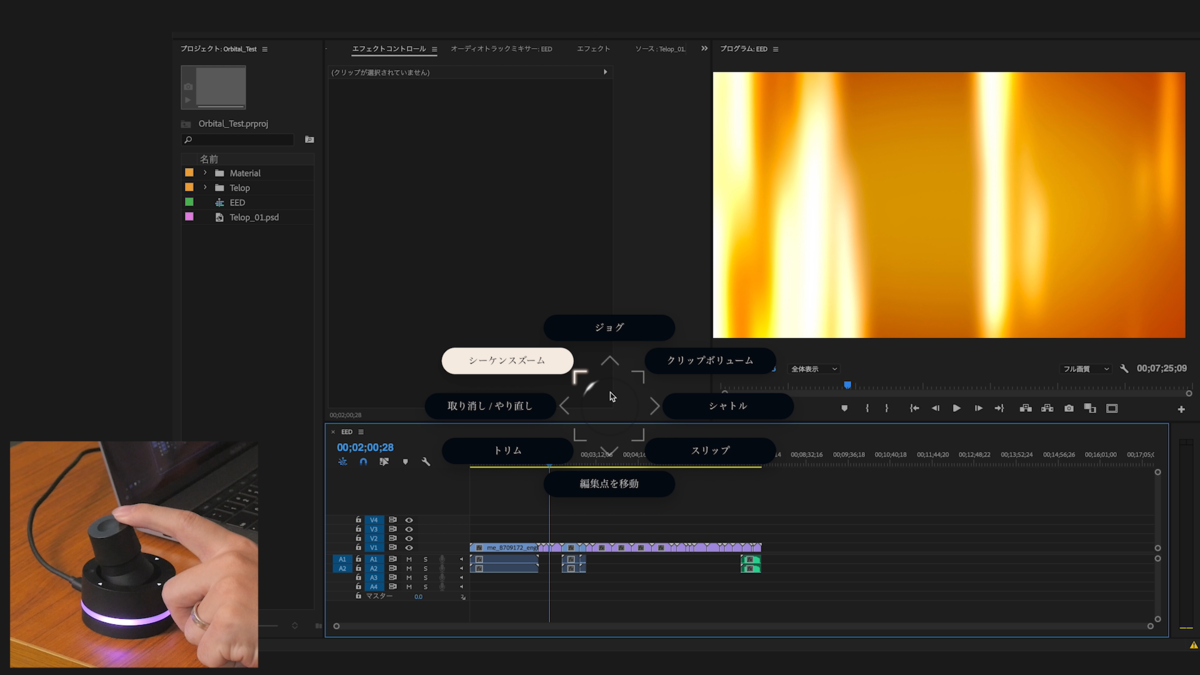
If you currently zoom in Premiere by dragging the bar at the bottom right, you should get Orbital2 right away! Switching to sequence zoom and simply turning the wheel lets you zoom in and out on the timeline axis effortlessly. This also works in After Effects.
Move Edit Point
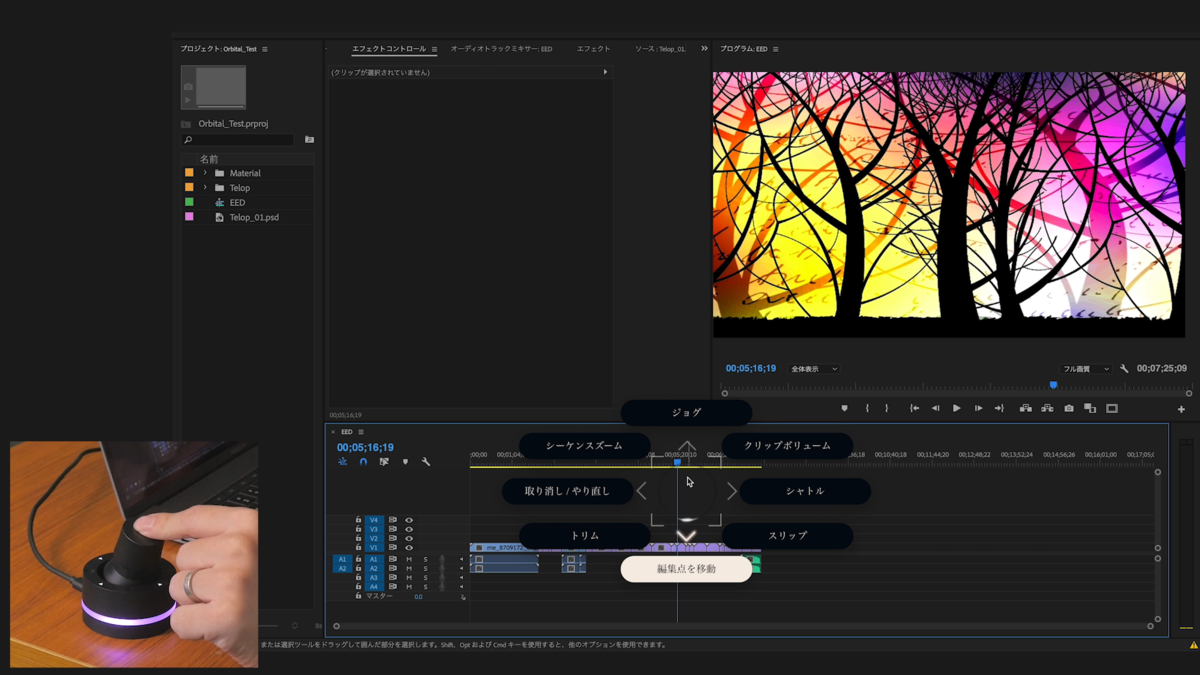
A tool to move between cut points.
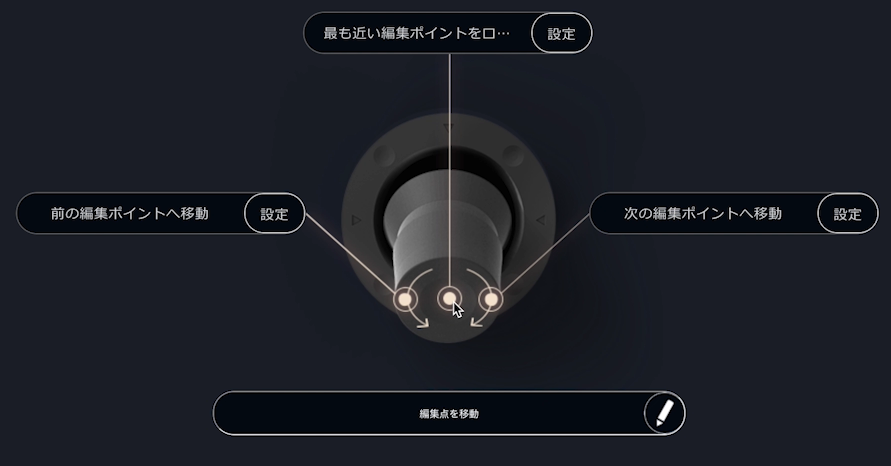
When pressing down while clicking, it selects the nearest edit point as a roll.
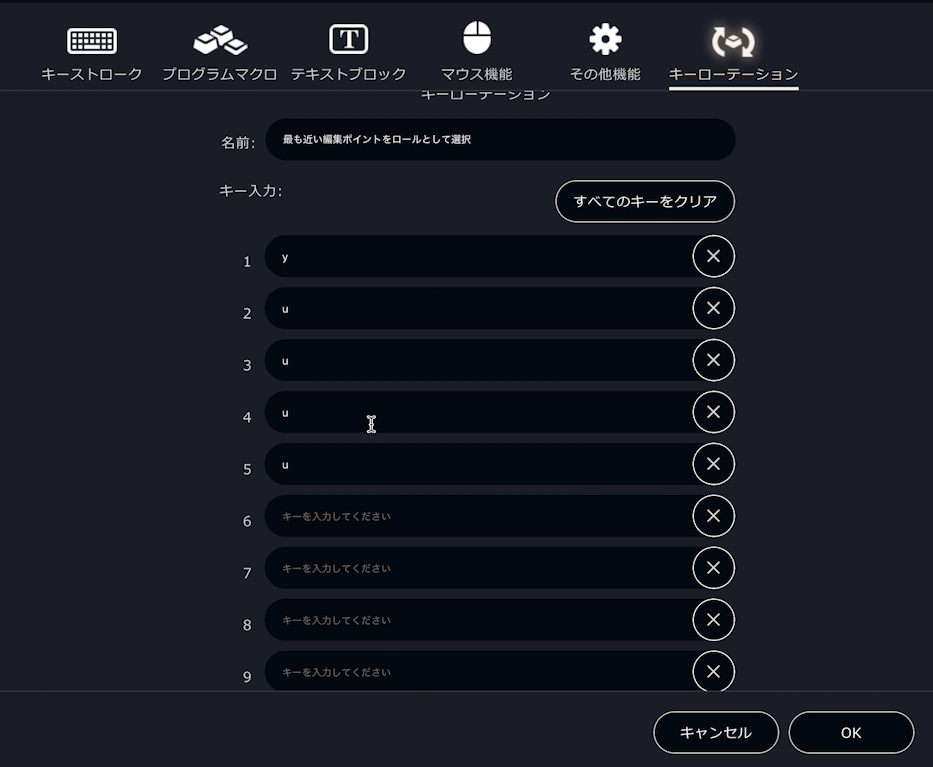
With Orbital2’s keyboard rotation feature, Sagawa set the button to repeat specific commands: 1st press = Y, 2nd–5th = U, then back to Y on the 6th.

This allows trimming both in/out points of clips by simply turning the wheel after selecting an edit point.
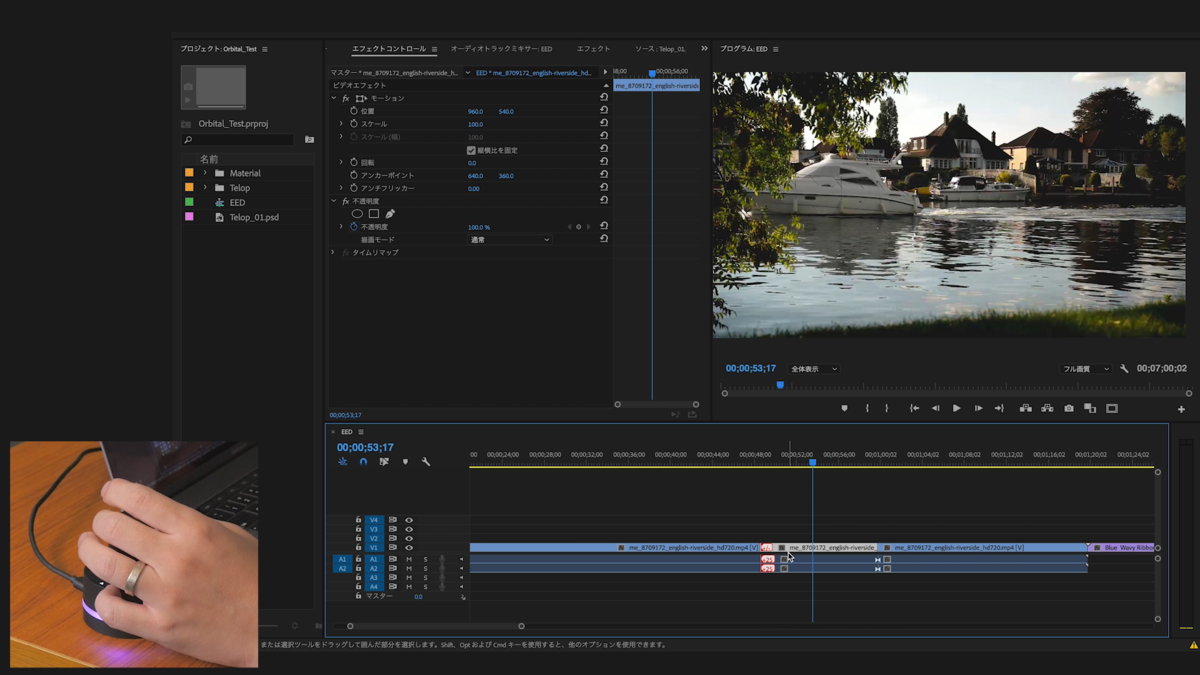
Slip
Used when you want to change the in/out points without altering the clip’s duration—perfect for fine-tuning cuts.
Clip Volume
Select clip volume, and while playing or paused, turn the wheel to fine-tune audio levels.
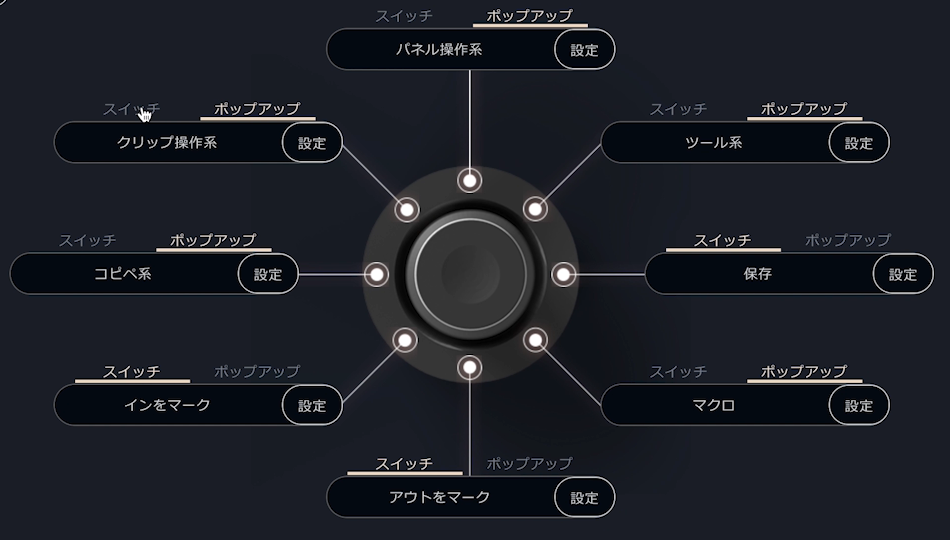
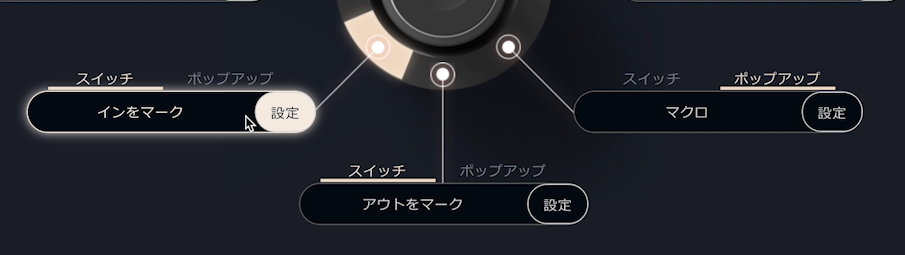
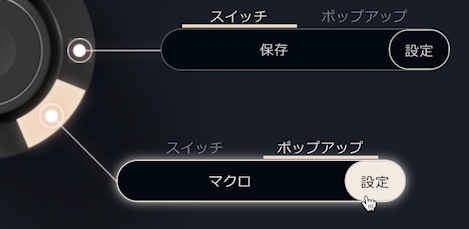
Pop-up vs Switch
- Pop-up: Opens a window with multiple selectable functions
- Switch: Executes a function immediately upon pressing
Sagawa integrates shortcuts into all pop-ups, making frequent tasks faster.
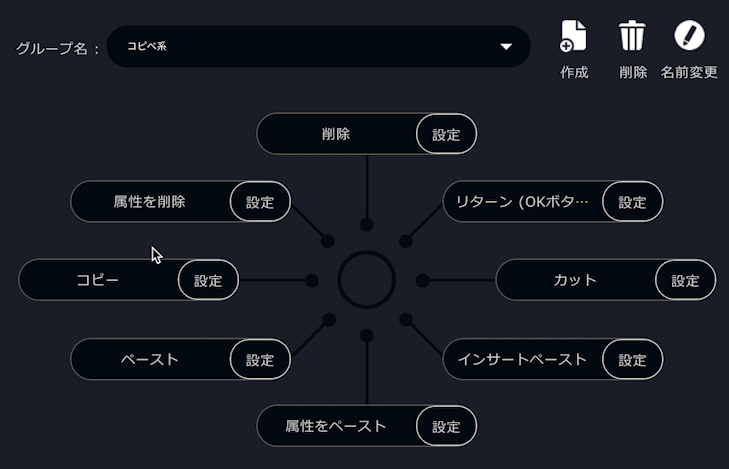
Example: Copy-paste operations, panel window presets for different editing setups, etc.
Window Panel
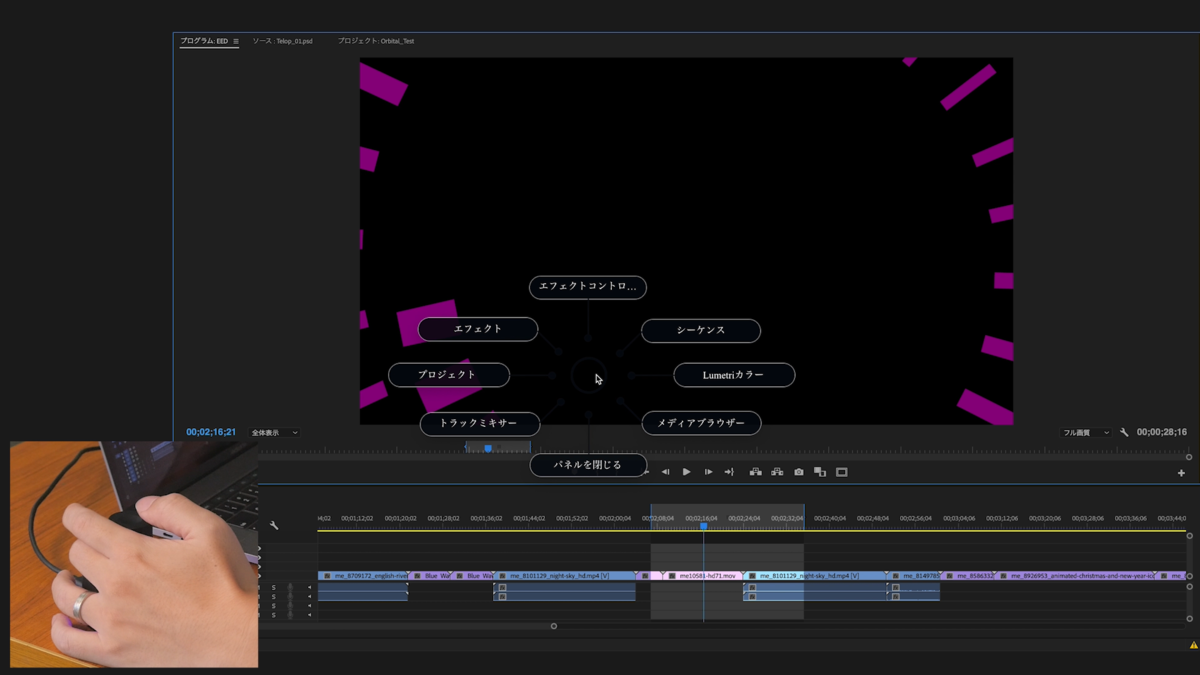
He assigns as many keyboard shortcuts as possible to Orbital2.
Editing basics
For Sagawa, setting in/out points (three-point editing) is the foundation of editing. IN/OUT points serve as the starting reference for many actions, so he assigns them as switches for quick access.
Like other professionals, Sagawa initially thought Orbital2 was unnecessary. However, the more he used it, the more he realized its convenience. Even beginners relying heavily on a mouse can open new doors in editing with Orbital2.
Absolutely not.
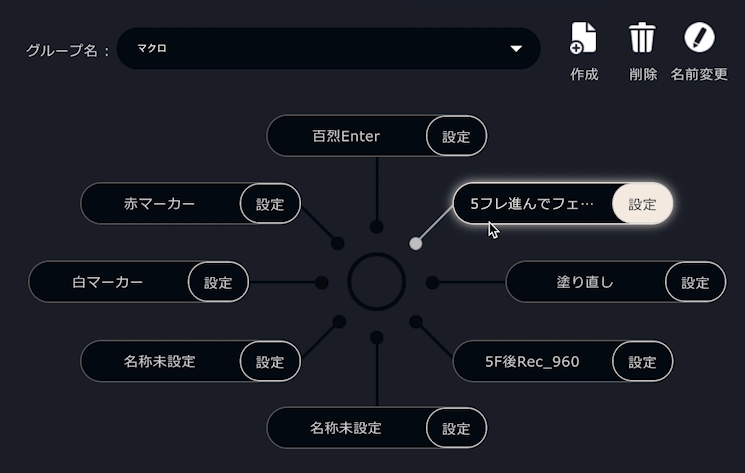
In fact, the macro function is what makes Orbital2 indispensable for advanced editors.
Now, what is the macro function?
A macro is not just a shortcut—it registers multiple actions to execute with a single click.
Example: Red Marker Macro
Premiere allows color markers, but setting them requires multiple steps. Normally, you’d press m, open the marker panel, select red with a mouse, and click OK.
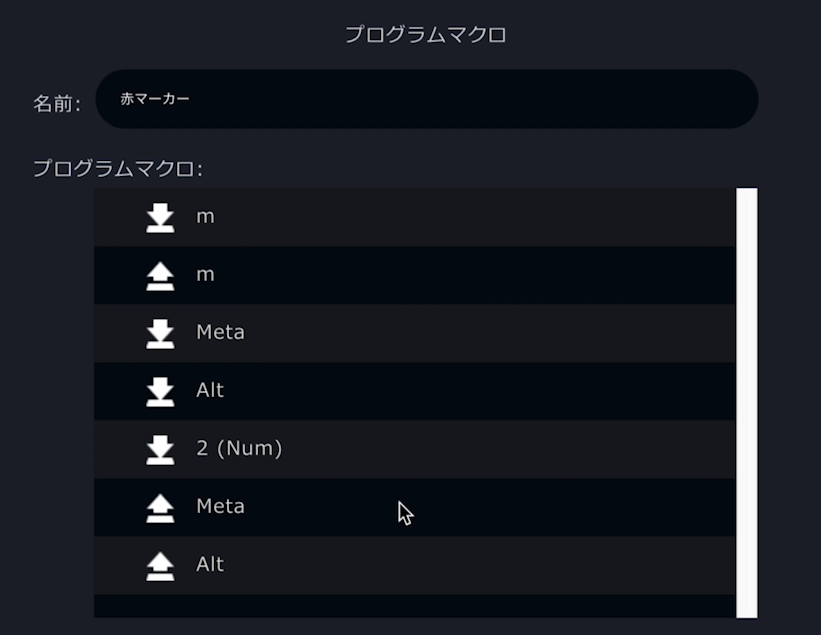
Sagawa created a macro that does all of this in one button press—saving time and clicks.
Complex repetitive tasks are perfect for macro automation.
Note:
Current Orbital2 specs don’t allow rapid-fire macros, except when using a separate numeric keypad enter key.
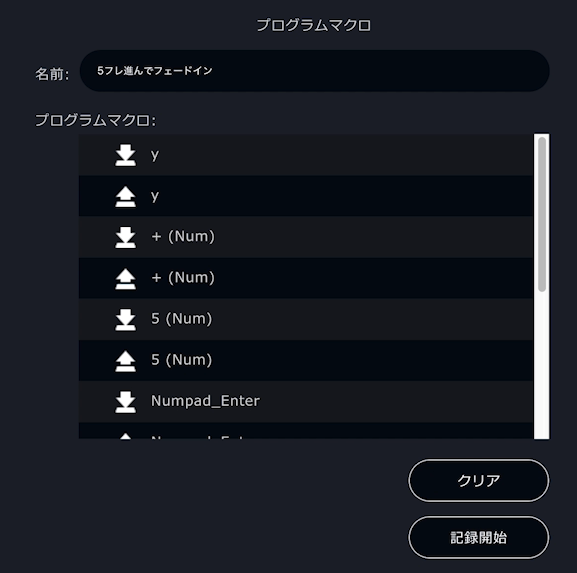
Advanced Macro Example Sagawa built a 15-step macro for inserting text overlays with specific positioning, fade-in effects, and precise frame timing—all triggered with one button press.
While simple tasks may still be faster manually, macros excel for complex, frequently repeated operations.
If you perform editing with the keyboard without using macros, you’ll have to go through all these key operations—but once you set up a macro, it will execute everything with a single press!
Q. Can more macros be created?
A. Yes, you can.
(According to Sagawa) Once you get used to it, performing the “advance by 5 frames, apply a dissolve, and fade in” action can be done almost as fast as if it were macro-automated.
That’s why, when I wanted to go even further, I created the following macro:
1:Deselect clip
2:Move the timeline 5 frames forward
3:Set IN/OUT points
4:Insert a title from the source panel
5:Return to the start of the edit point
6:Grab the edit point
7:Apply a fade-in
8:Advance 1 frame
9:Select the title clip
10:Open Effect Controls
11:Press Tab to set the Position Y value to 990.0
12:Press Tab 4 times to set the Anchor Point’s out value to 960.0
13:Return to the sequence panel
14:Deselect selection
15:Turn Auto-Select Clips back OFF
...You can set all of this to execute with just one button press. Isn’t Orbital2 amazing?
Note: With the current specifications, if a macro execution fails midway, it will restart from the beginning, so be careful.
For simple actions, using the keyboard might be faster.
However, for complex actions with many steps that you need to perform repeatedly, macro automation lets you complete everything with a single push—super convenient.
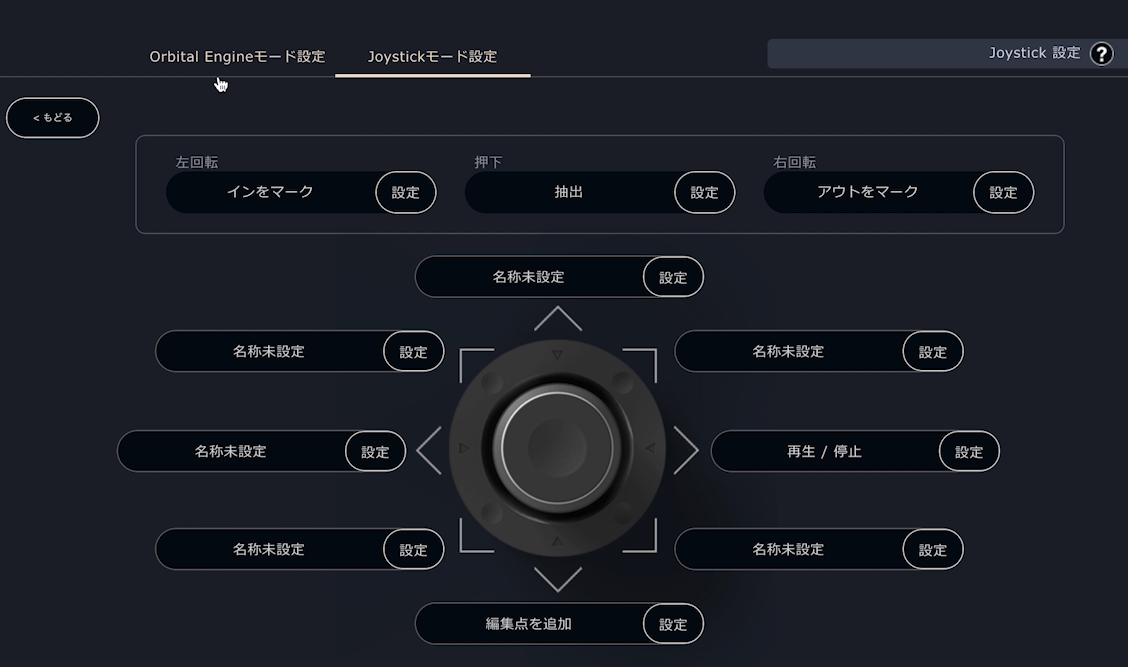
This is simply assigning keys to joystick actions.
Left turn → Set IN point
Right turn → Set OUT point
Button press → Delete between IN/OUT points
With this setup, you can edit while playing back the video.
In fact, at the ultimate level, you could do cut editing entirely with Orbital2—no keyboard needed.
I highly recommend introducing Orbital2 into your workflow and enjoying a better, faster video editing life!

■ Click here for the previous article
[YouTuber: Dustman / Motion Graphics Creator: Yuya Shiroto] Building a Fully Automated Motion Graphics System!?
■ Grab downloadable profiles!
▼ Sagawa
Windows:
here
Mac:
here
▼ Dustman
Windows:
here
Mac:
here
▼ Shiroto
Windows:
here
Mac:
here
This translation has been performed using ChatGPT.