Orbital2 manual for installation and configuration for Mac devices
Download "CP210x USB - UART Bridge VCP Driver" from "■ SILICON LABS Driver" on the download page of the portal site.
Double-click the downloaded .dmg file.
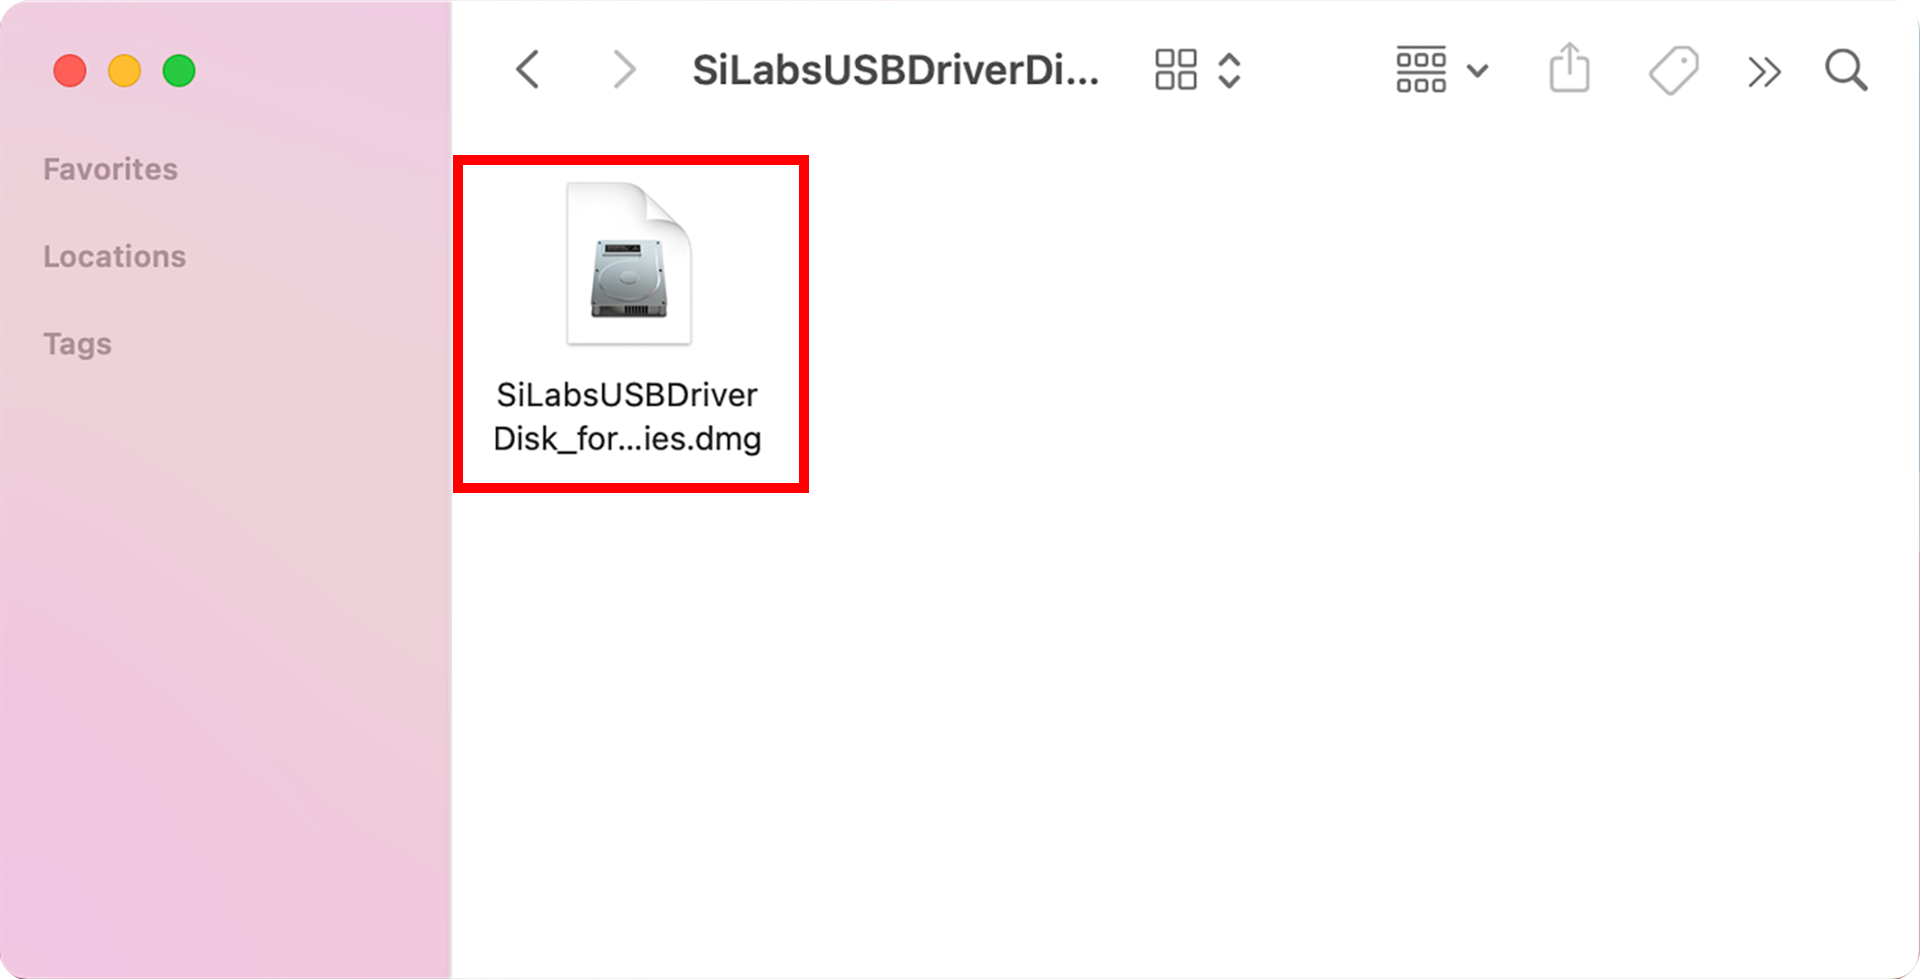
After the download is complete, double-click "SiLabsUSBDriverDisk.dmg" to mount it. After unzipping, open the folder and double-click "Install CP210x VCP Driver" to start the installation.
※For MacOS X 10.10, refer to the folder "Legacy MacVCP Driver".

After the driver installation is complete, restart your PC.
※If you have any files you are editing, please save them before completing the installation.
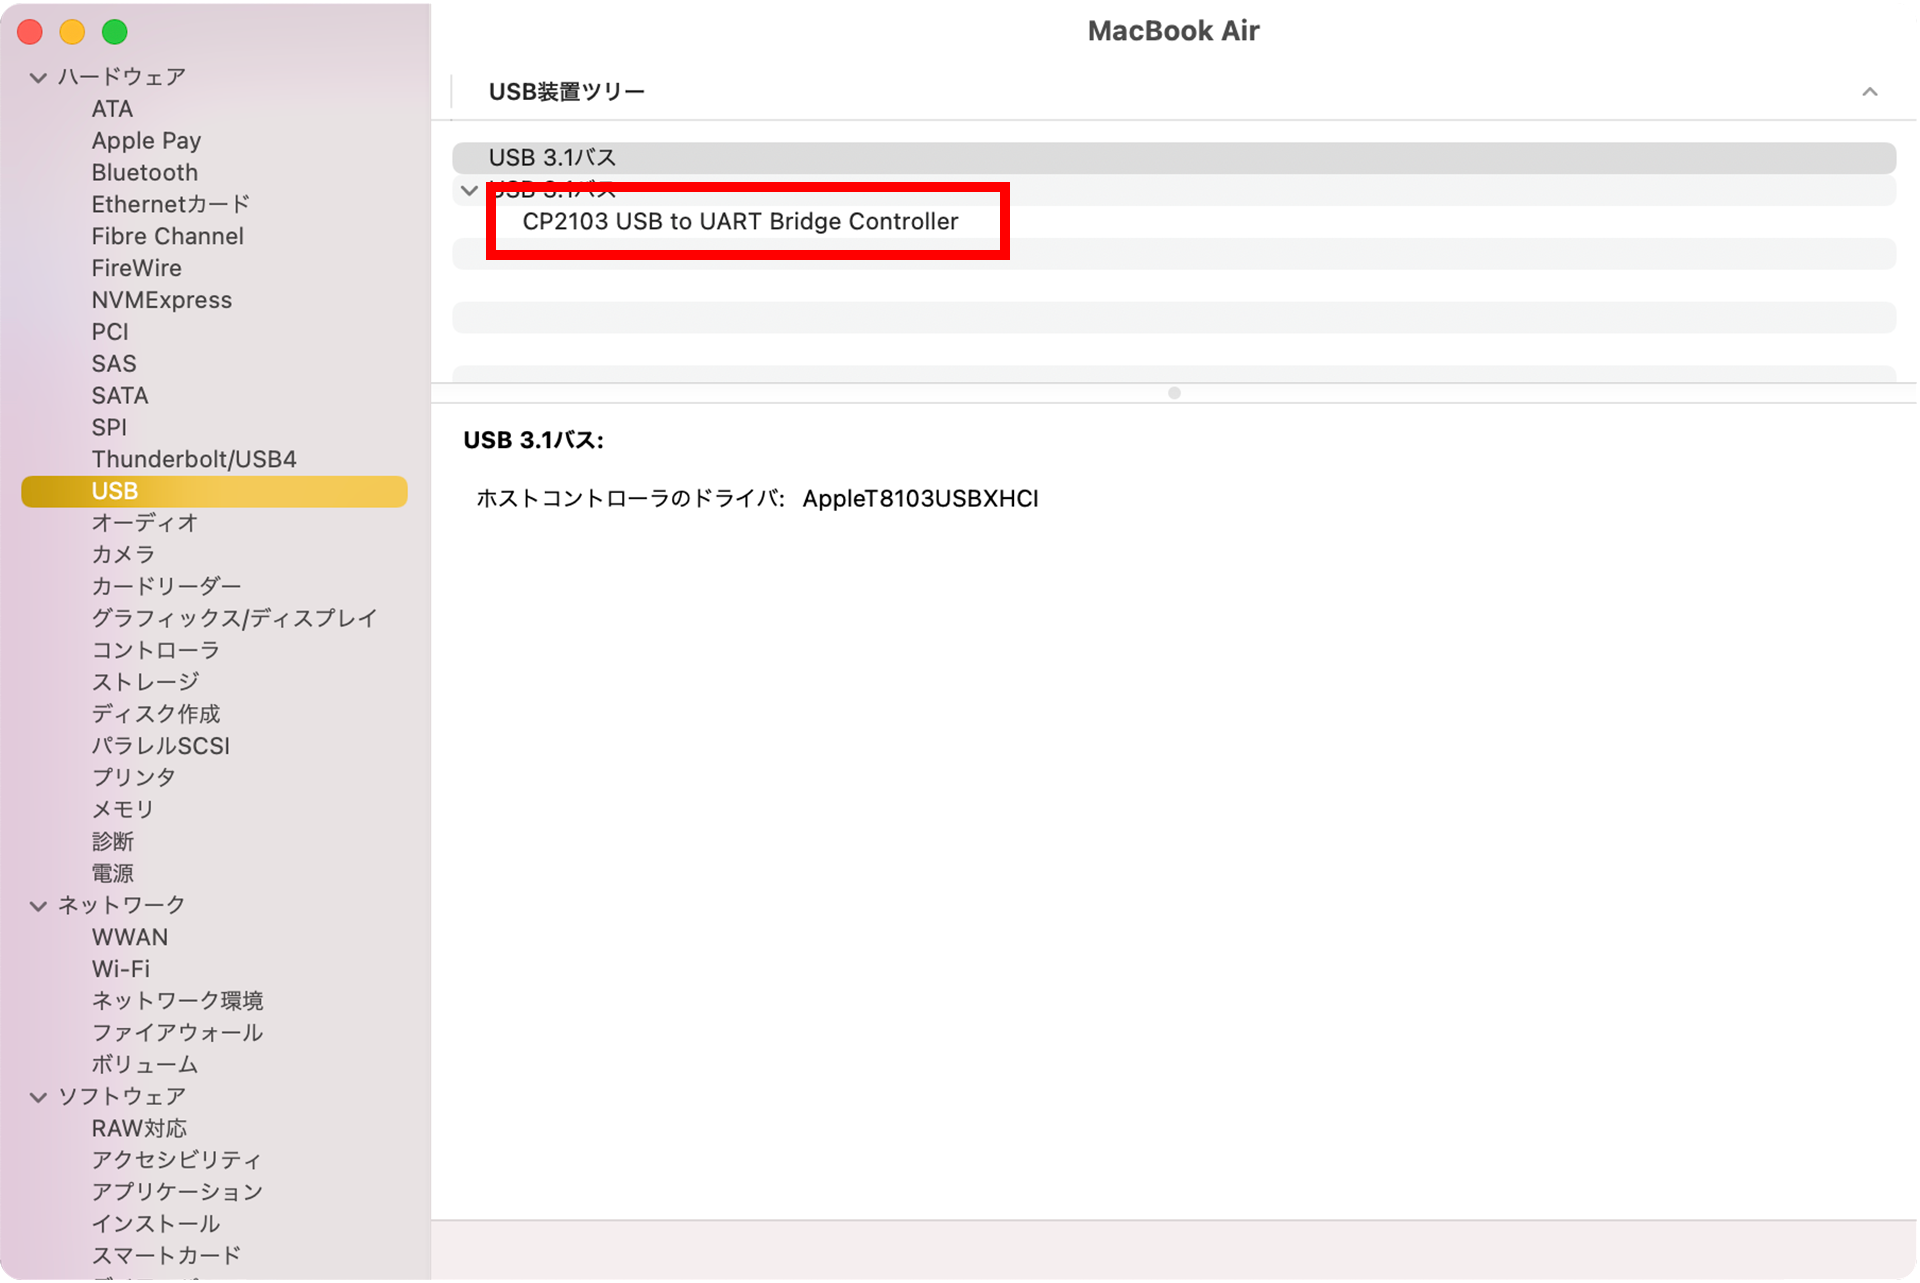
Connect Orbital2 and PC and click the Apple mark on the upper left. Hold down the Option key and choose Apple menu > System Information.
If "C210x USB to UART Bridge Controller" is displayed in "Hardware" > "USB", it is available. If you can't see it, please check here.
Download the Orbital2 application from the download page.
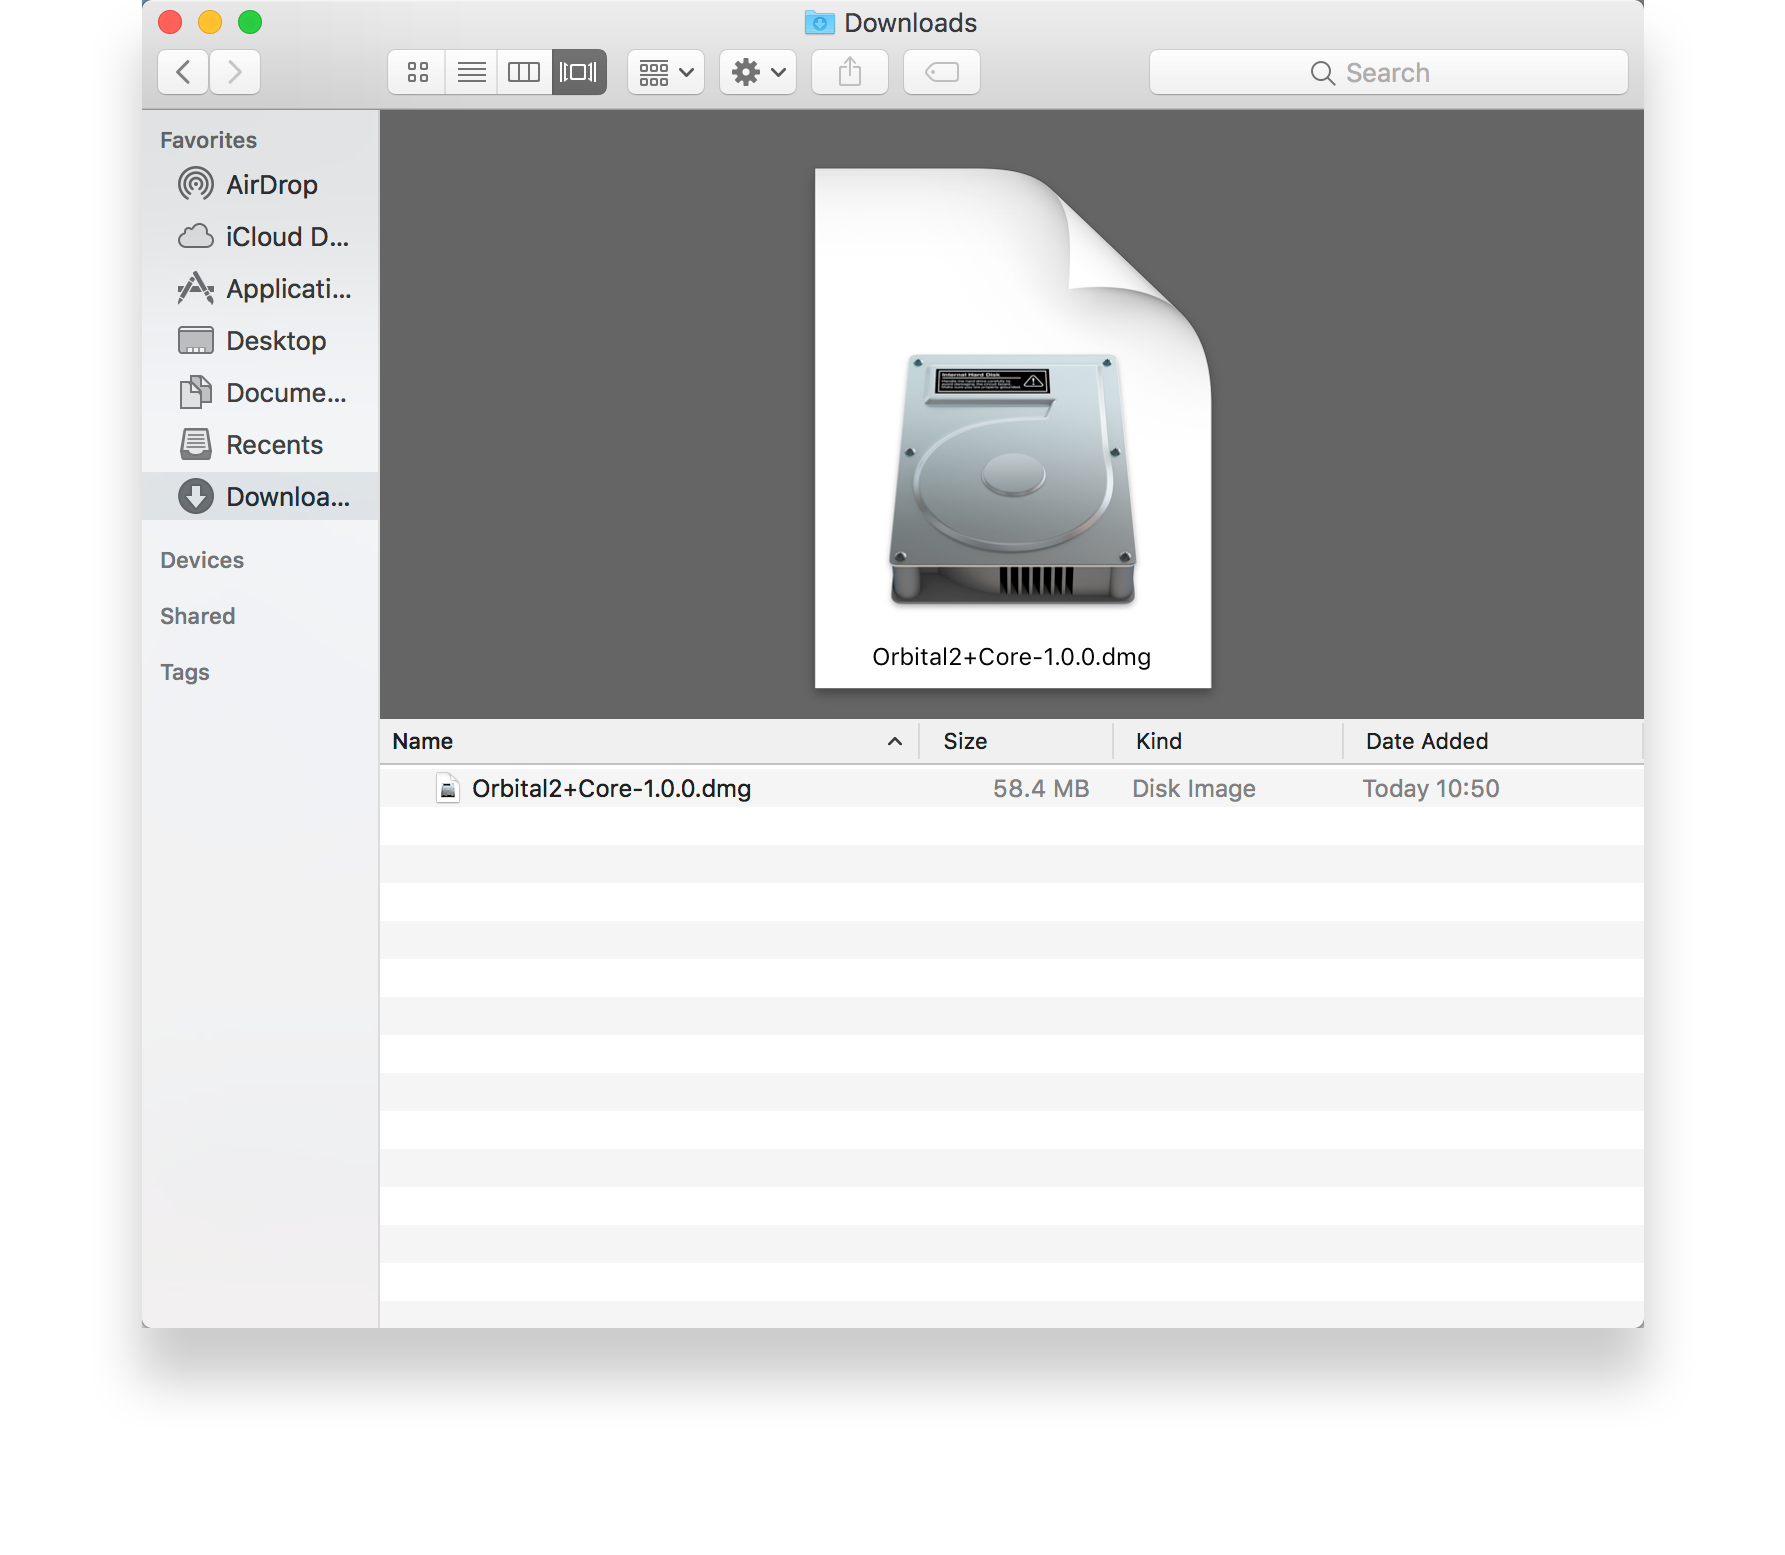
After the download is complete, double-click the downloaded .dmg file.
Installation will start.
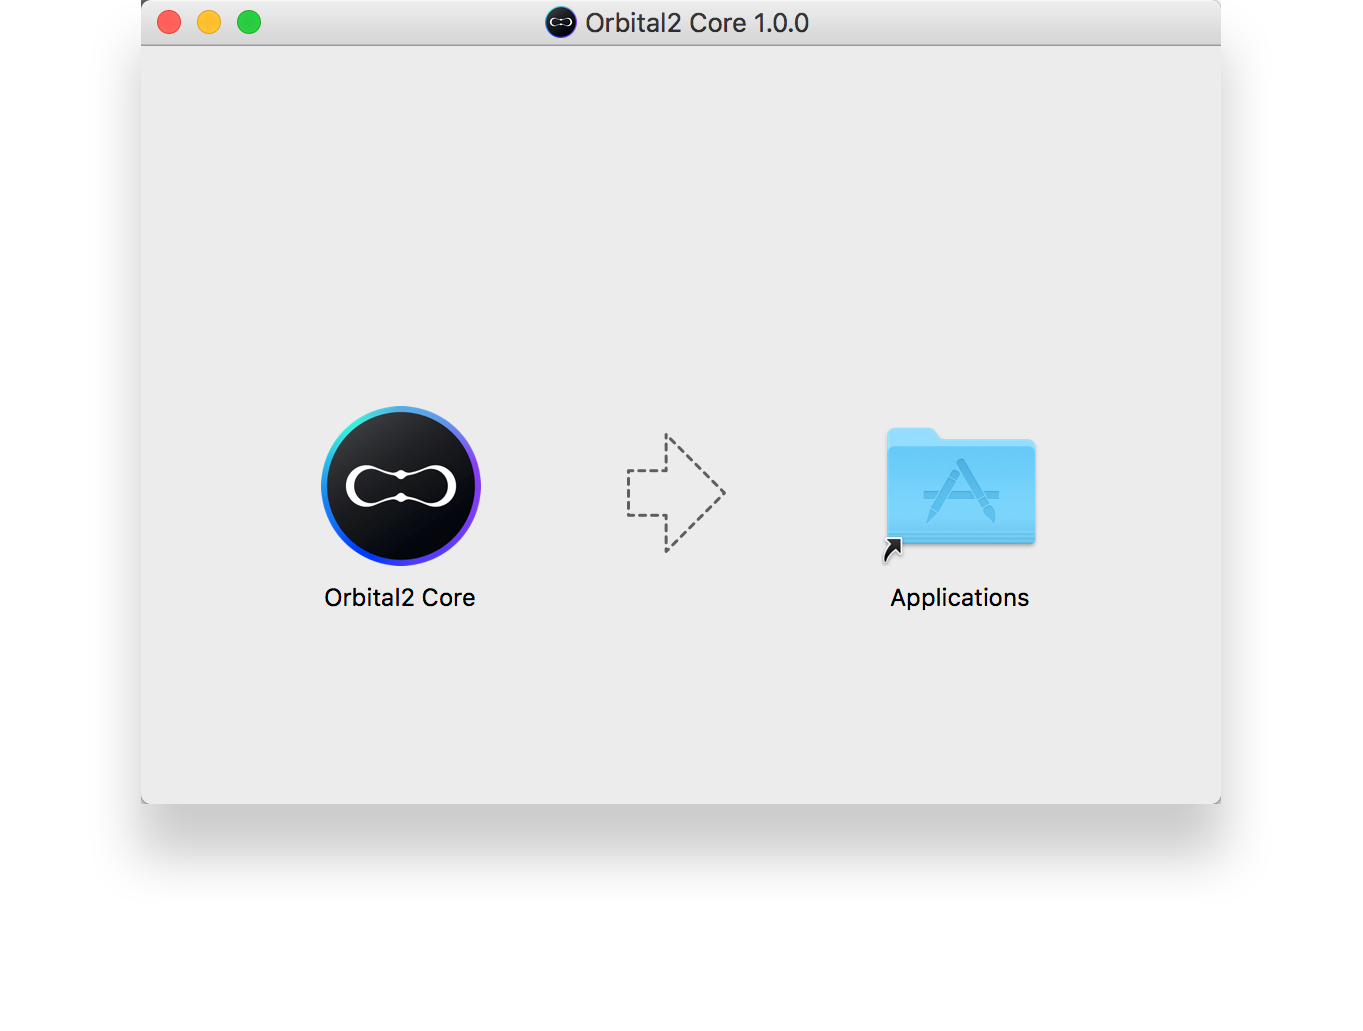
When the installation is completed, the following screen will be displayed. Drag and drop the Orbital2 application to the application folder to complete.
FAQs:
・"C210x USB to UART Bridge" or "O2STERNA" is not displayed in "Hardware" > "USB"
・Orbital2 or Orbital2 STERNA cannot connect
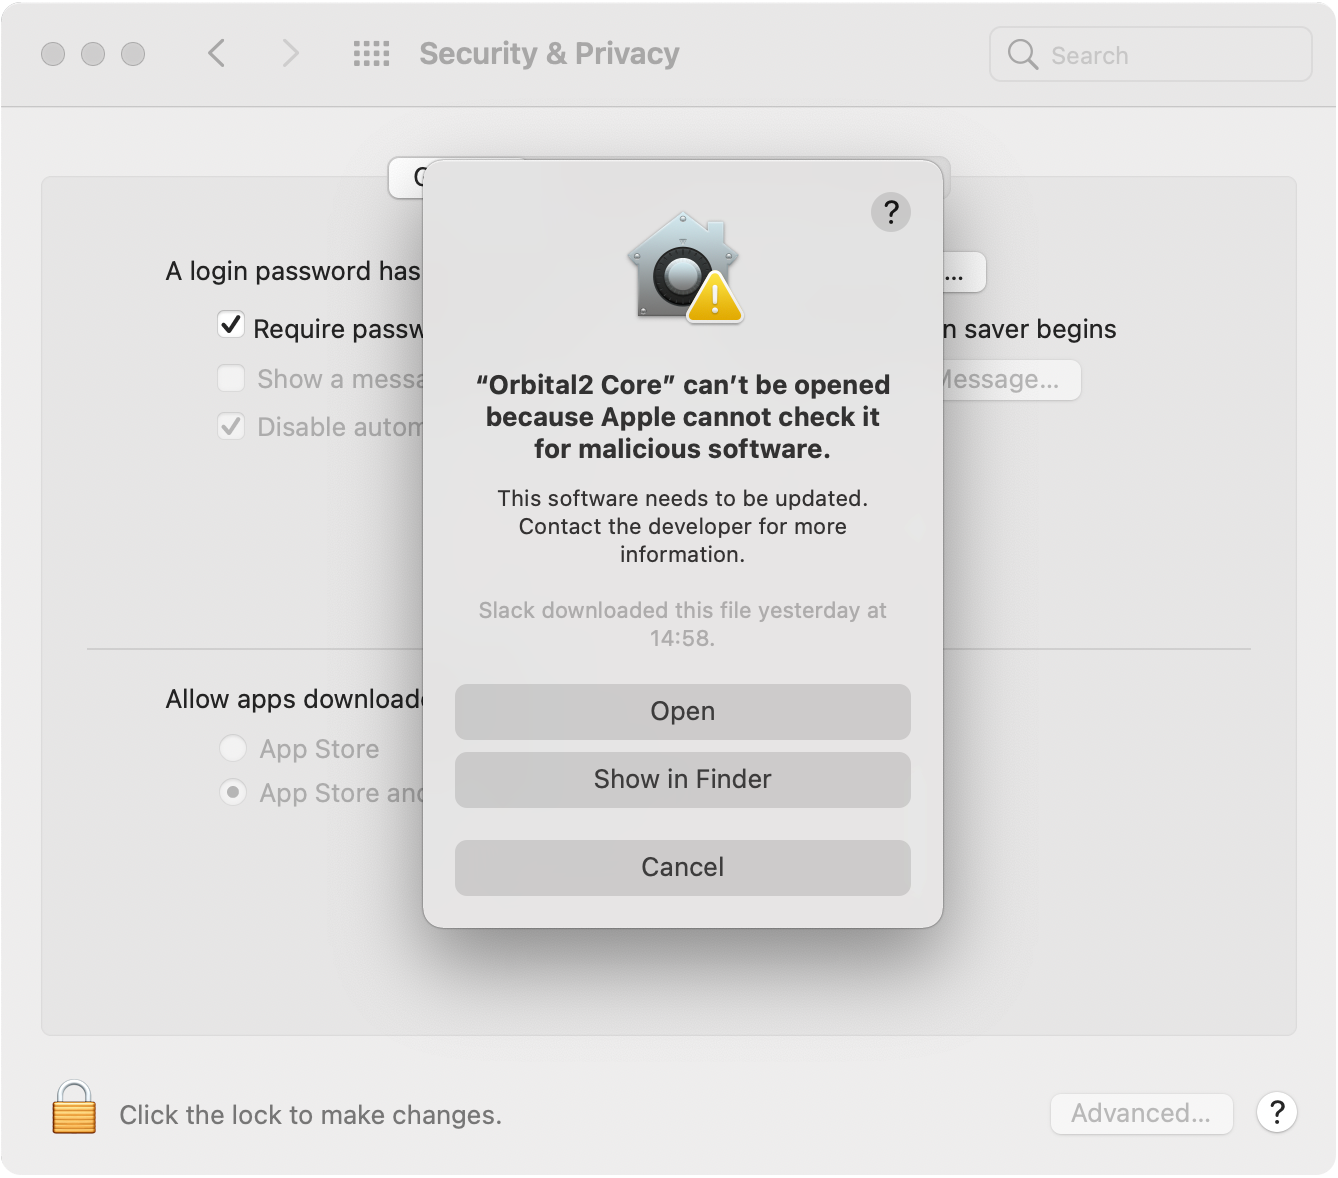
・A message appears stating: “‘Orbital2 Core’ can’t be opened because the developer cannot be verified.”
What to do:
1)Completely uninstall the driver and Orbital2 Core
■ Complete uninstallation of the driver
Delete "CP210xVCPDriver" in "/Applications/".
■ Complete uninstallation of the application "Orbital2 Core"
Delete "/Users/{username}/Library/Application Support/o2app".
Delete "Orbital2 Core" in "/Applications/".
※If you have created your own profile, export the profile and back up the data before deleting it.
See here for how to export your profile.
Restart your Mac in safe mode
For instructions, please refer to the macOS User Guide. The procedure differs depending on the OS you are using, so please read the reference carefully.
Once you've booted into safe mode, reboot again and switch to normal mode.
3)Reinstall the driver and Orbital2 Core
Please repeat "1. Install USB communication driver", "2. Install Orbital2 application", "3. Add ABC keyboard" and "4. Security and privacy settings".
4)Start Orbital2 Core
Please check if Orbital2 or Orbital2 STERNA can be used normally.
If you have tried the above and it still does not work, please contact us.
After installing the Orbital2 application, open System Preferences and select Keyboard.
Select an input source and press the + button on the bottom left.
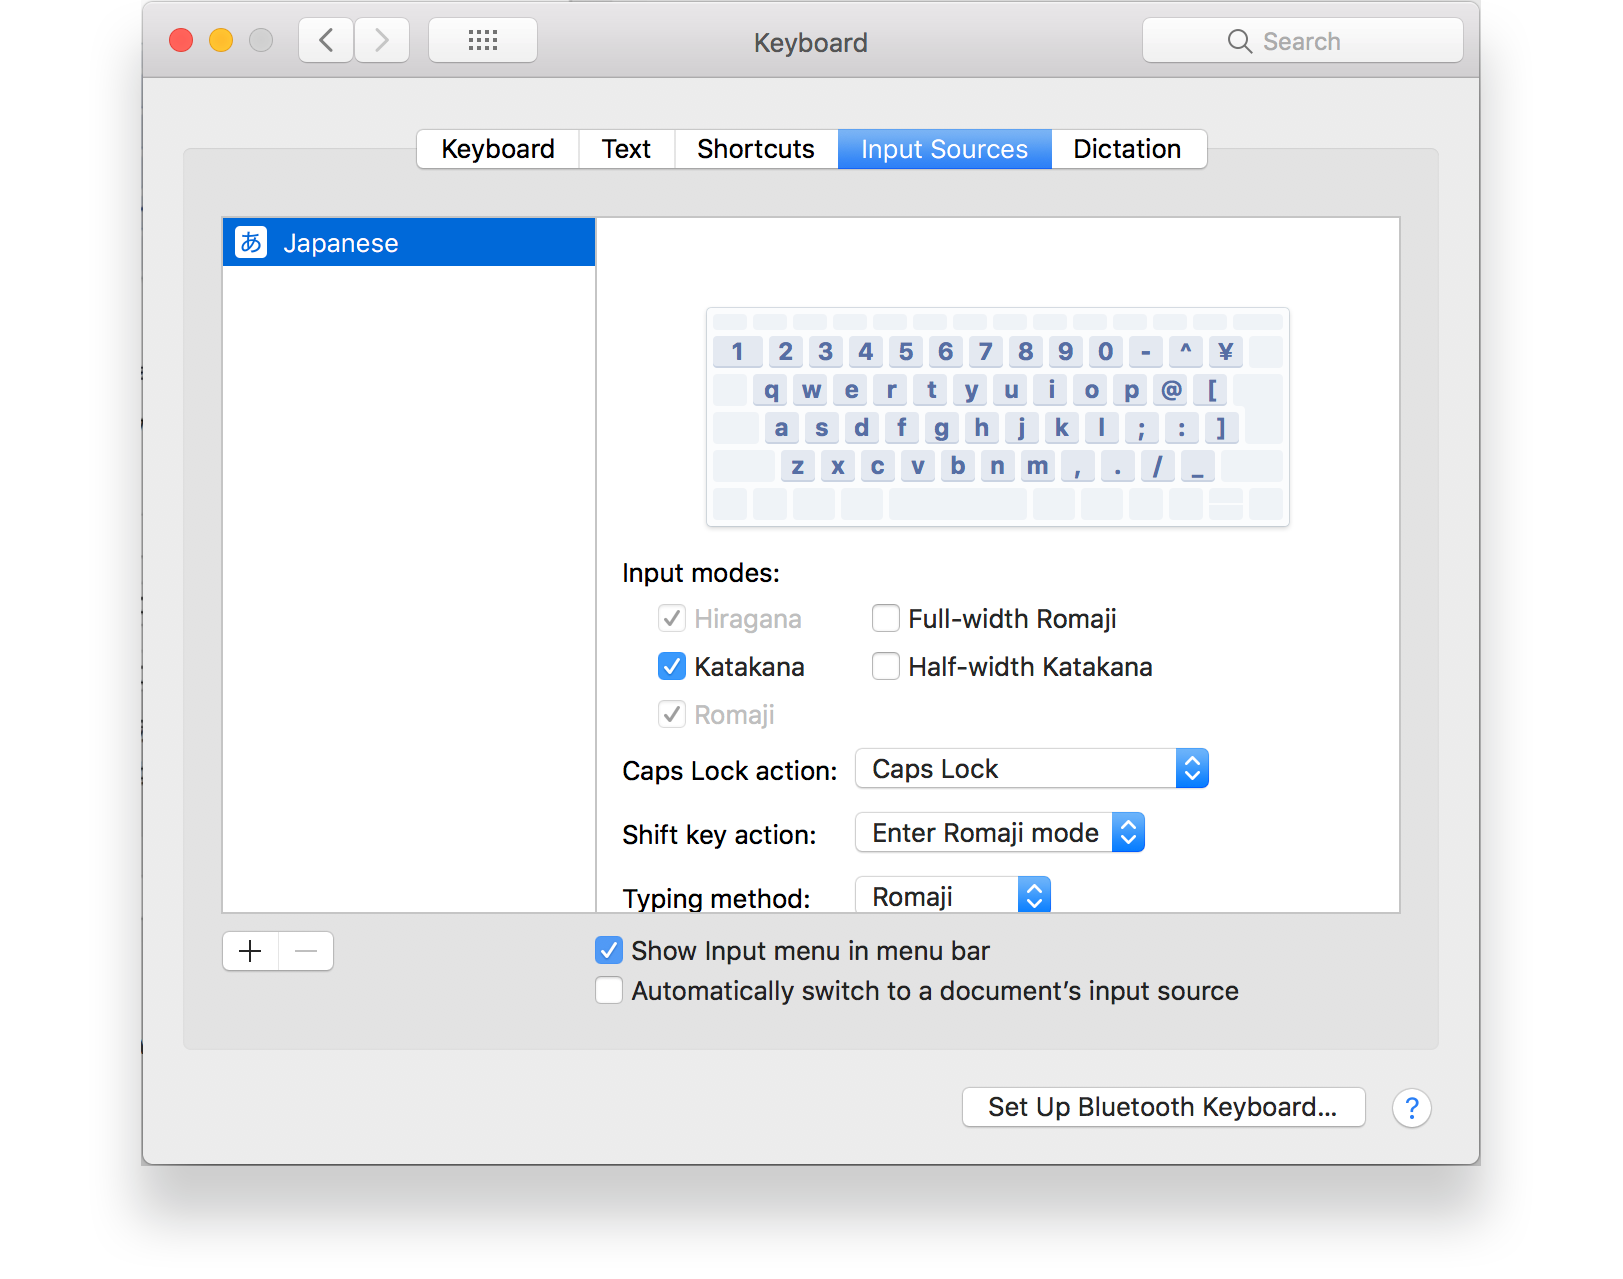
After selecting English from the list on the left, select the item "ABC - Extended" from the list on the right, and press the Add button at the bottom right of the screen.
※If you are using OS X 10.10 Yosemite, please add "US - Extended".

Open System Preferences and select Security & Privacy.
Please press the open button in the lower right.
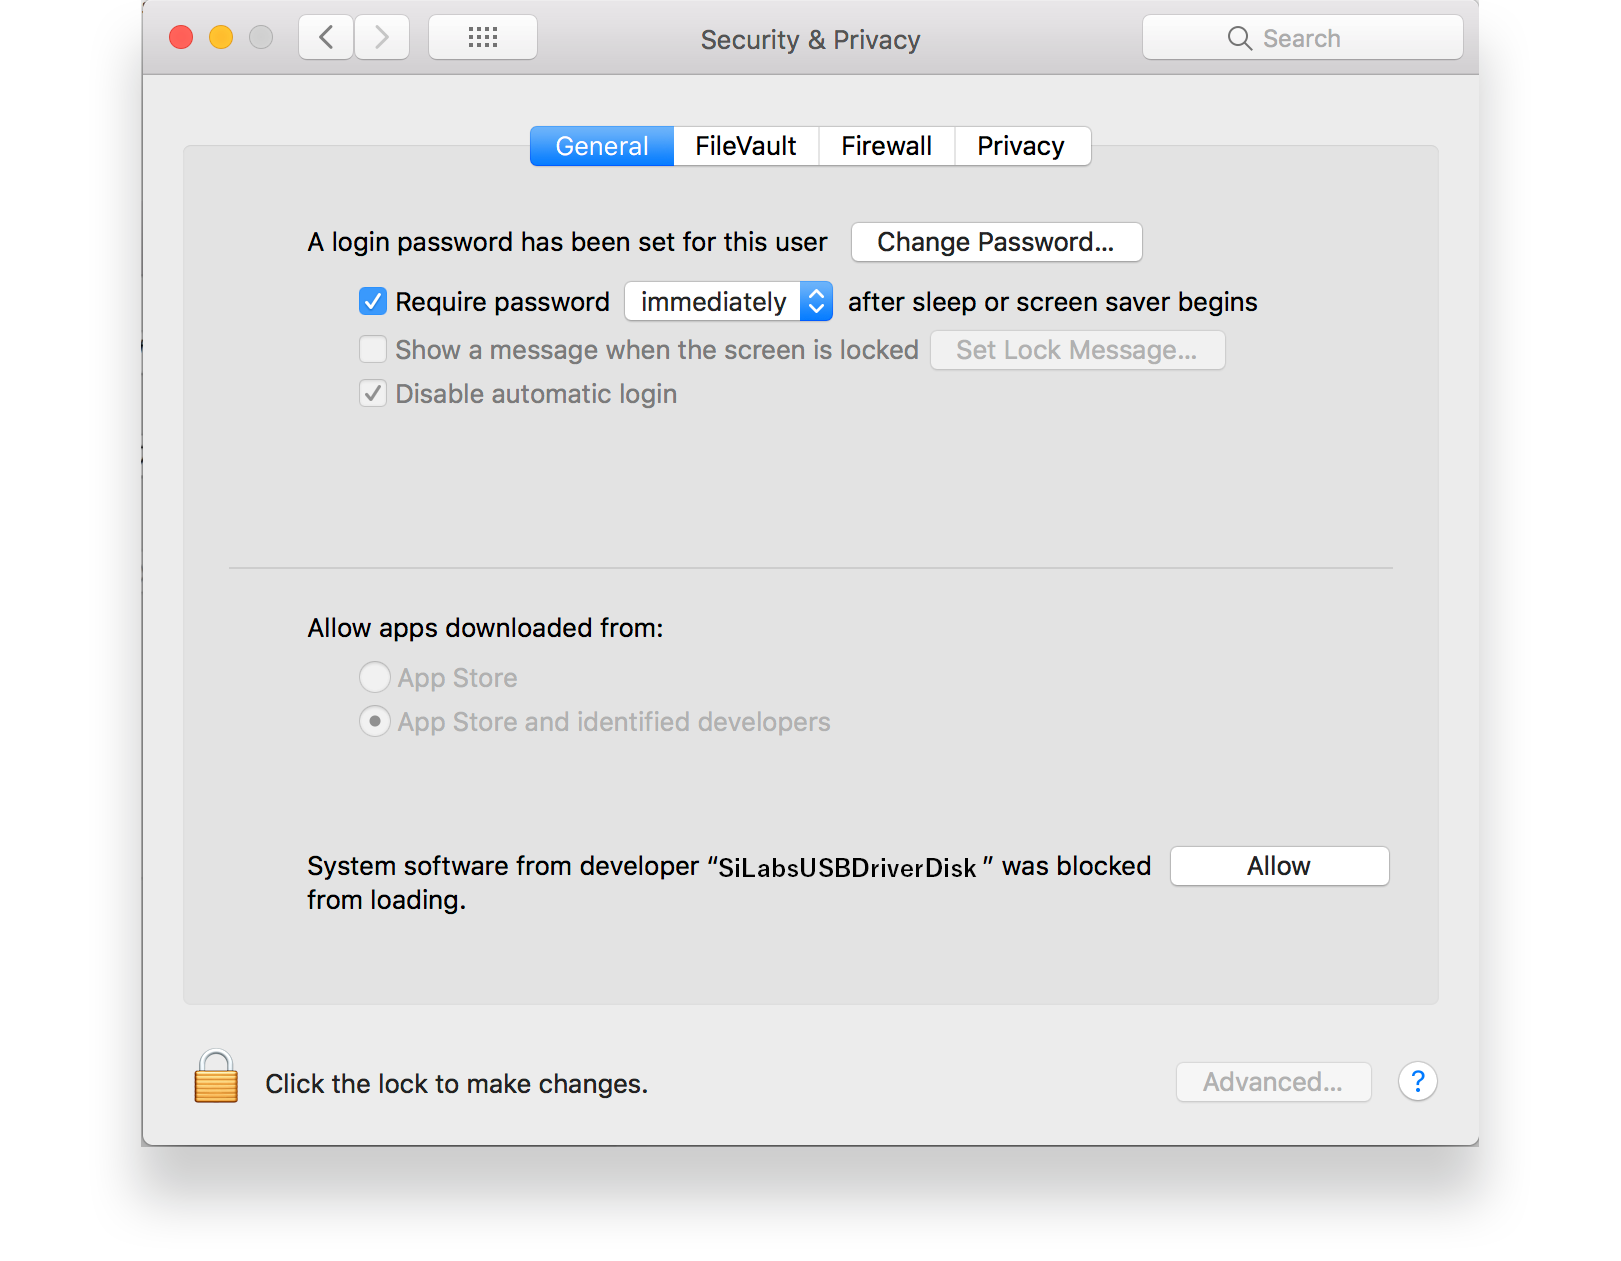
After pressing the Open button, the drivers installation will begin.
After setting the above, open System Preferences again and select Security & Privacy.
Please press the "Open Anyway" button in the lower right.
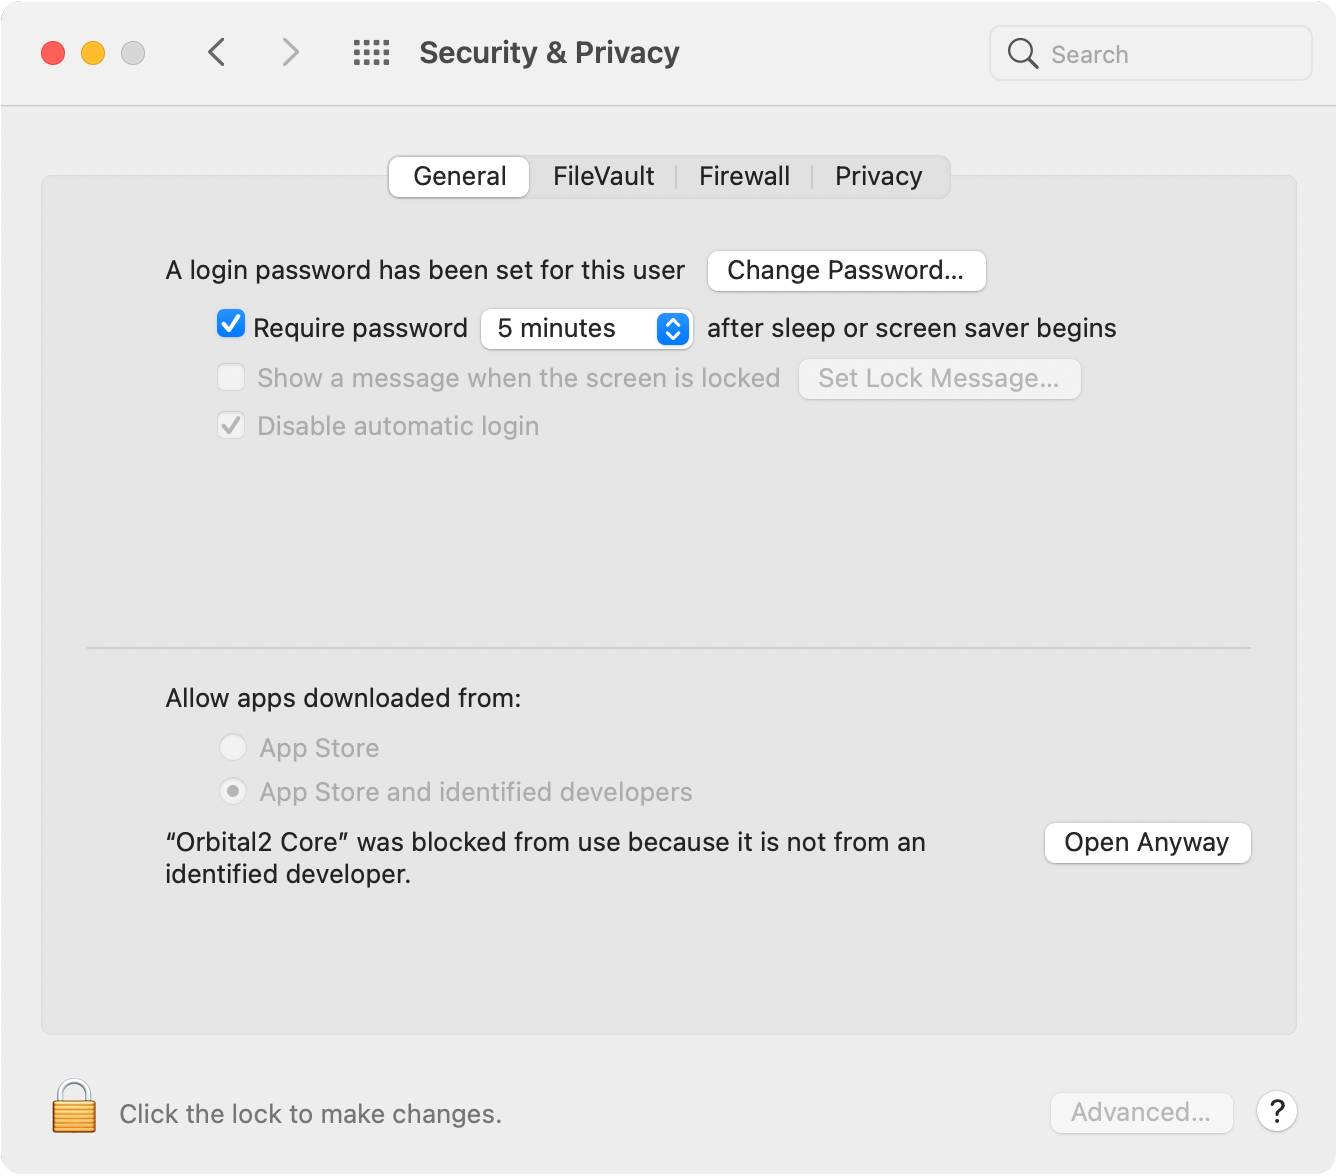
After pressing the "Open" button, the Orbital2 application will start.
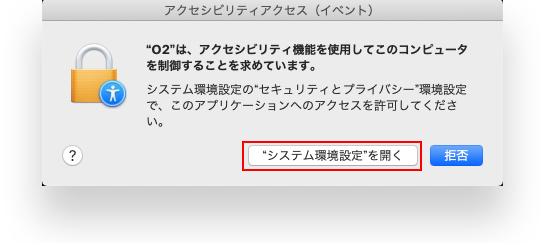
If the following dialog is displayed when operating the Orbital2 application, click “Open “System Preferences”.
After clicking, the following security and privacy dialog will open, so check the "Orbital2" checkbox. By checking, you allow shortcut key input by Orbital2 application.
※If the application is not displayed, click the "+" to add the Orbital2 application and check the checkbox.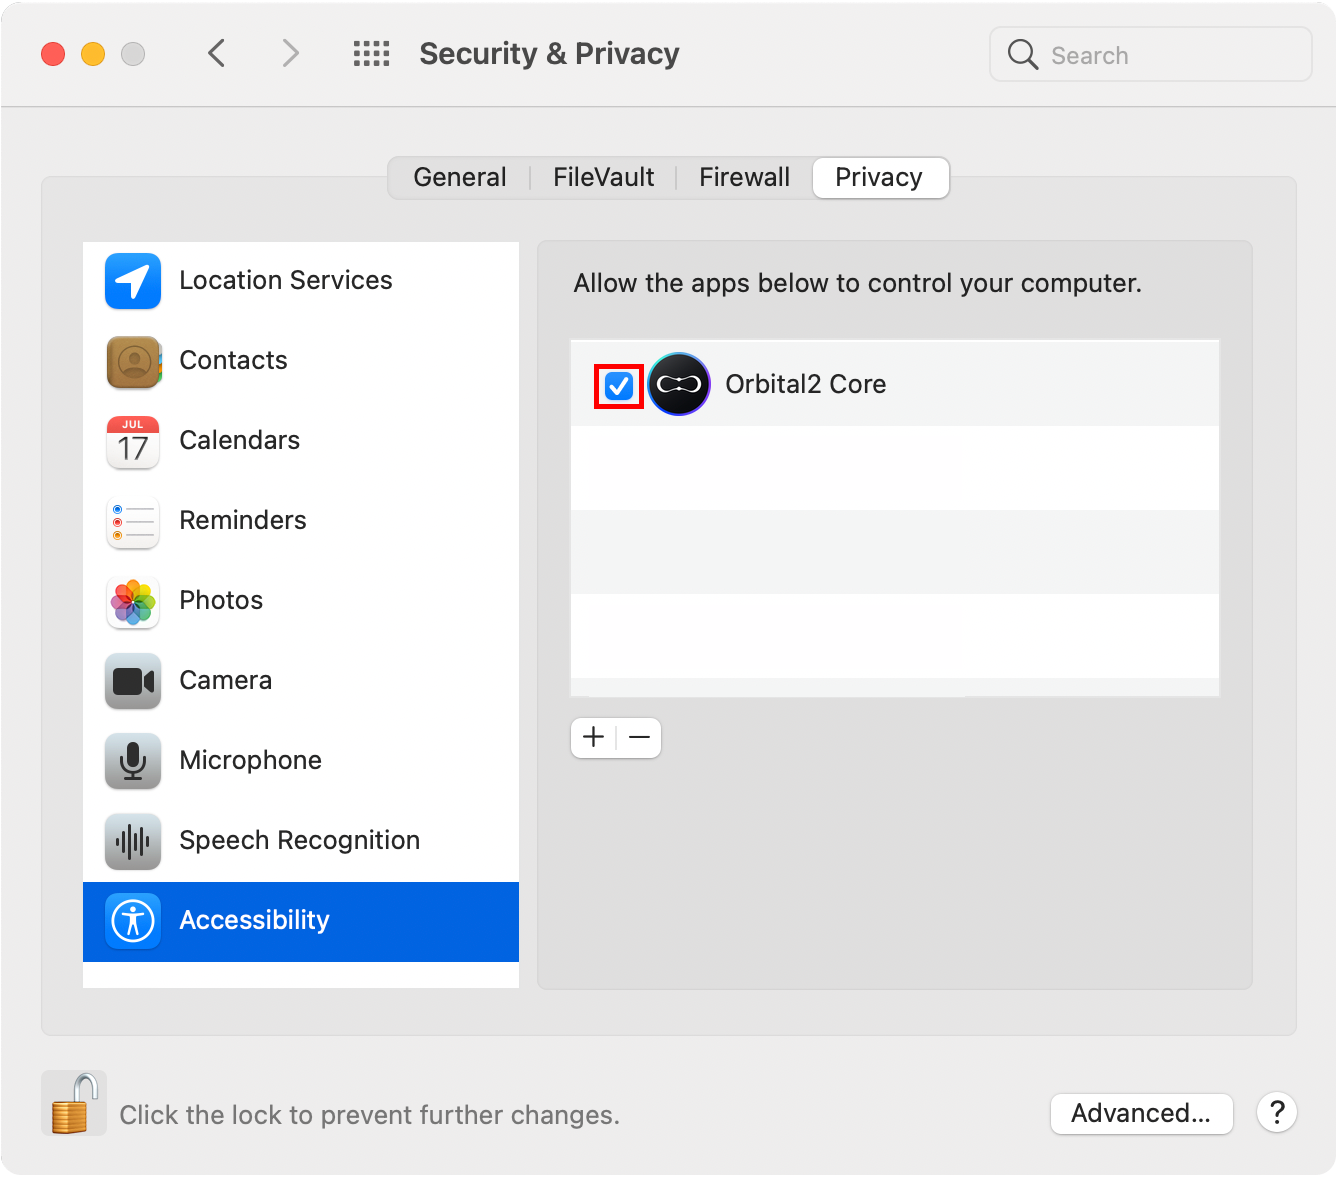
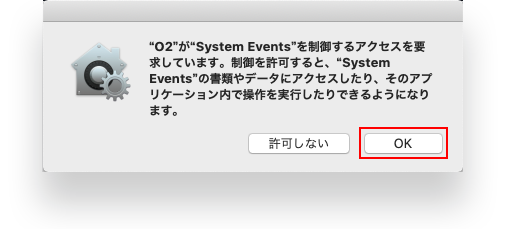
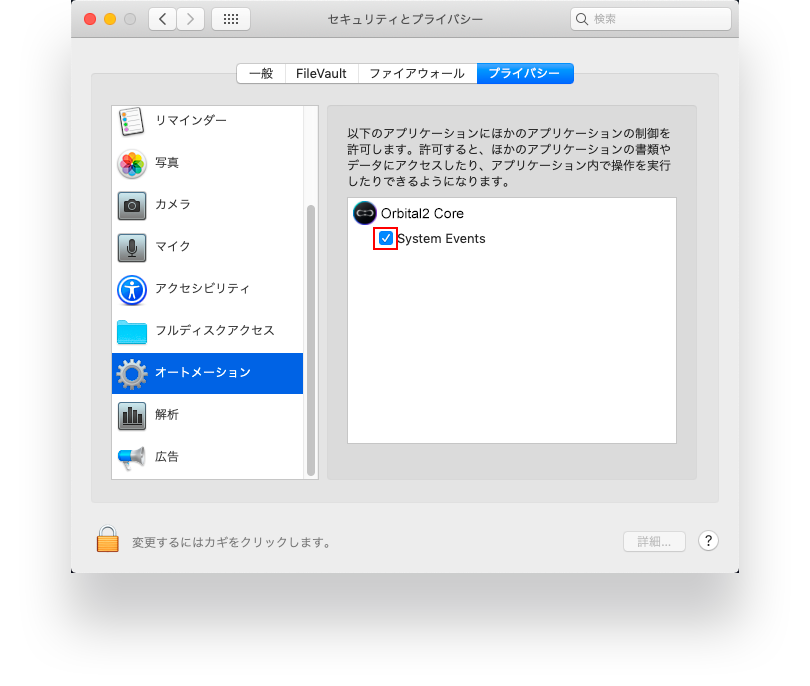
You also need to give permission to System Events as well. When using the long press function for the first time, the following screen will be displayed, so click "OK".
After clicking, the security and privacy screen like the image below will be displayed, so check the "Orbital2" checkbox. By checking, long press input by Orbital2 application is allowed.
Click "Security and Privacy" in System Preferences.

Click the "Privacy" tab on the right side of the screen, and then select "Accessibility".

Select "Orbital2" and then click the "-" button to delete it from the settings.

After it’s deleted, reinstalled Orbital2 application. Click the "+" button.

Select the Orbital2 Software from the Applications folder and click "Open".

After you confirm that the reinstall has been added close out the application has been added.

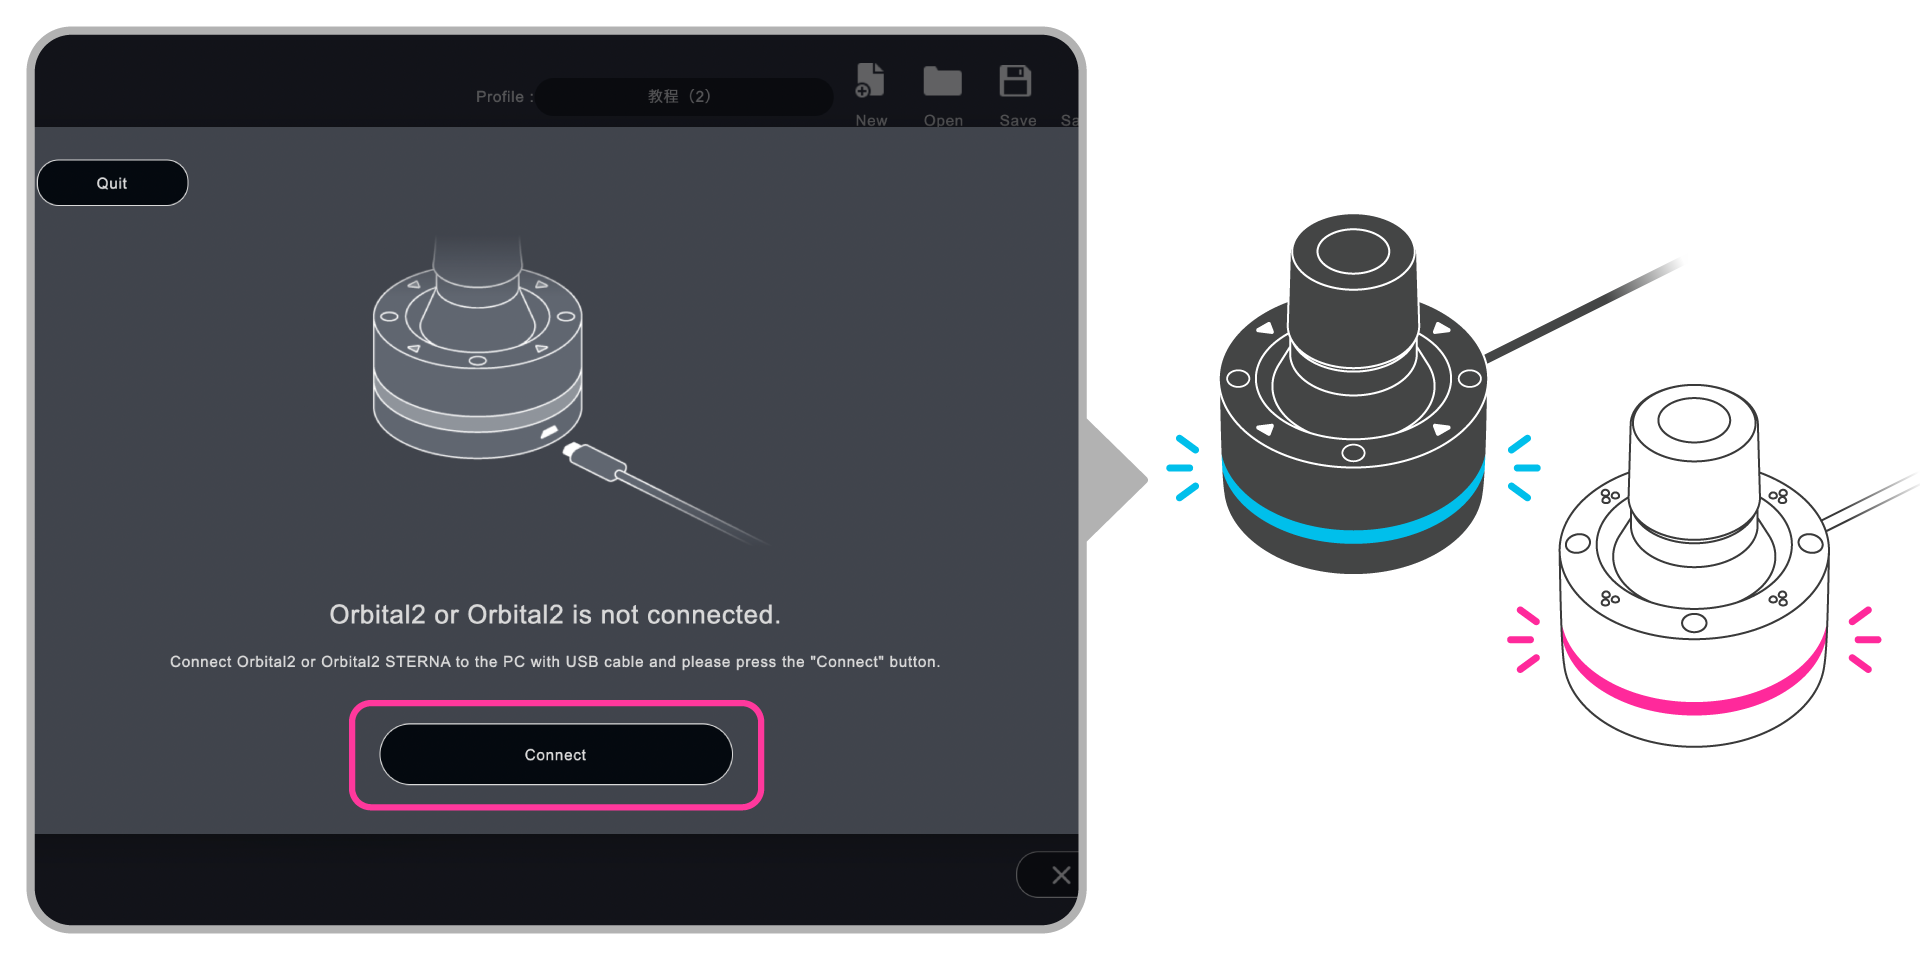
After connecting the USB cable to "Orbital2" or "Orbital2 STERNA" and the PC, click the "Connect" button displayed on the application screen or the "Connect" icon in the menu bar.
If the glow ring glows, the connection is successfully completed.
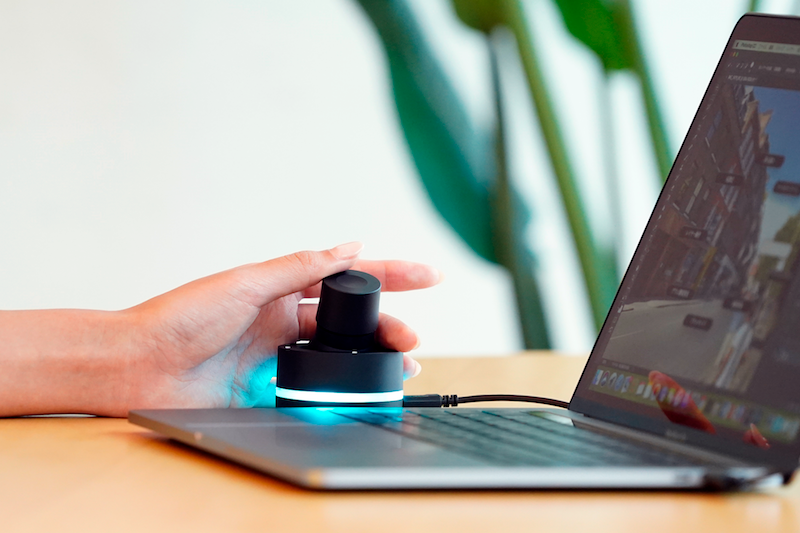
You can hold Orbital2 with your thumb on the top of the Orbital Engine and your index finger on the top of the joystick, with the side of your hand along your work desk.